
Dashboard
The Studio Dashboard page is your hub for accessing maps, data, and other assets.
Navigation bar
Navigation bar lets you easily navigate between Studio dashboard pages. Navigation bar contains following options:
- Home, Projects, Workspace, Catalog, Community navigation options to navigate between pages
- Support button to create help desk support
- Documentation button for access to Studio documentation.
- Slack button for access to Studio slack support channel.
- Login button.
- Foursquare products quick access button to quickly navigate between Foursquare products.
- New Map button - when you are logged in to a Studio account, click New Map button to create a new map.
- My Account - when you are logged in to a Studio account, my account button appear in the navigation bar.
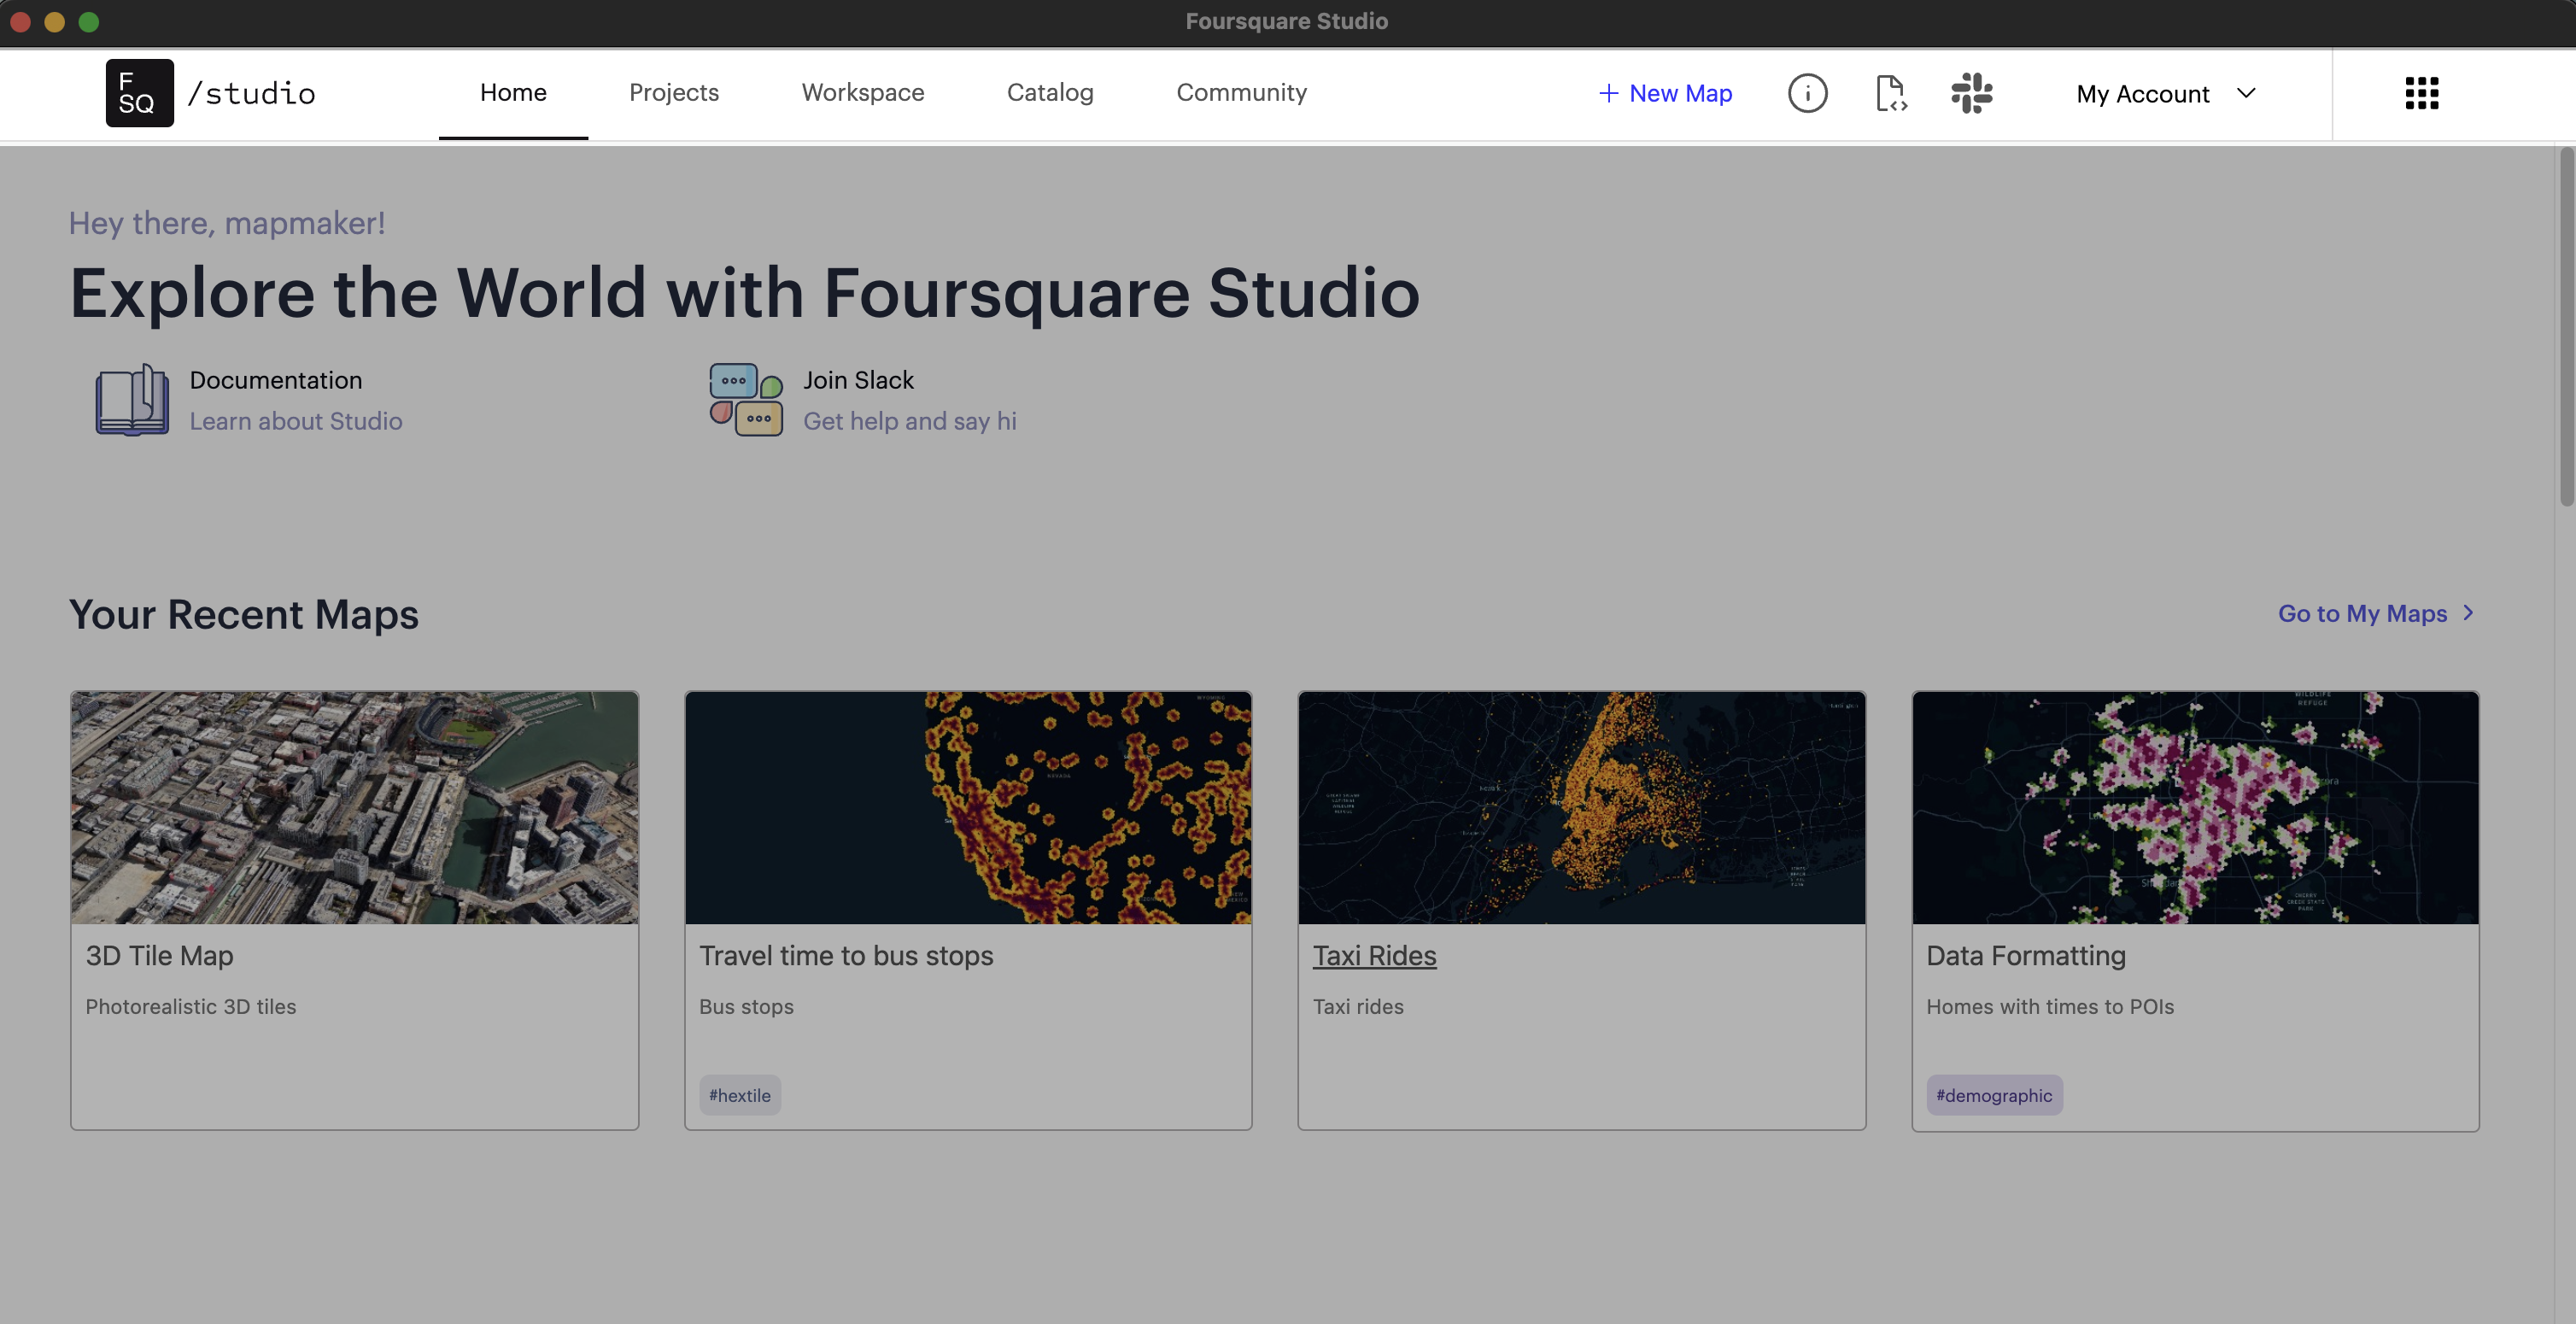
Studio's navigation bar.
New Map
Click + New Map to create a new map.
Account information Pane
Click on My Account icon to access account quotas and seat info, including:
- Your seat
- Organization tier
- The number of private maps available.
- The number of published maps available.
- The number of shared maps available.
- The number of datasets.
- The amount of cloud storage available.

Account information Pane.
Sign Out
To sign out of your Studio account, click Sign out under My Account icon.
Home
The Home tab appears upon logging in to Studio. This page provides quick access to your most recently created or updated maps, blog posts, and more.
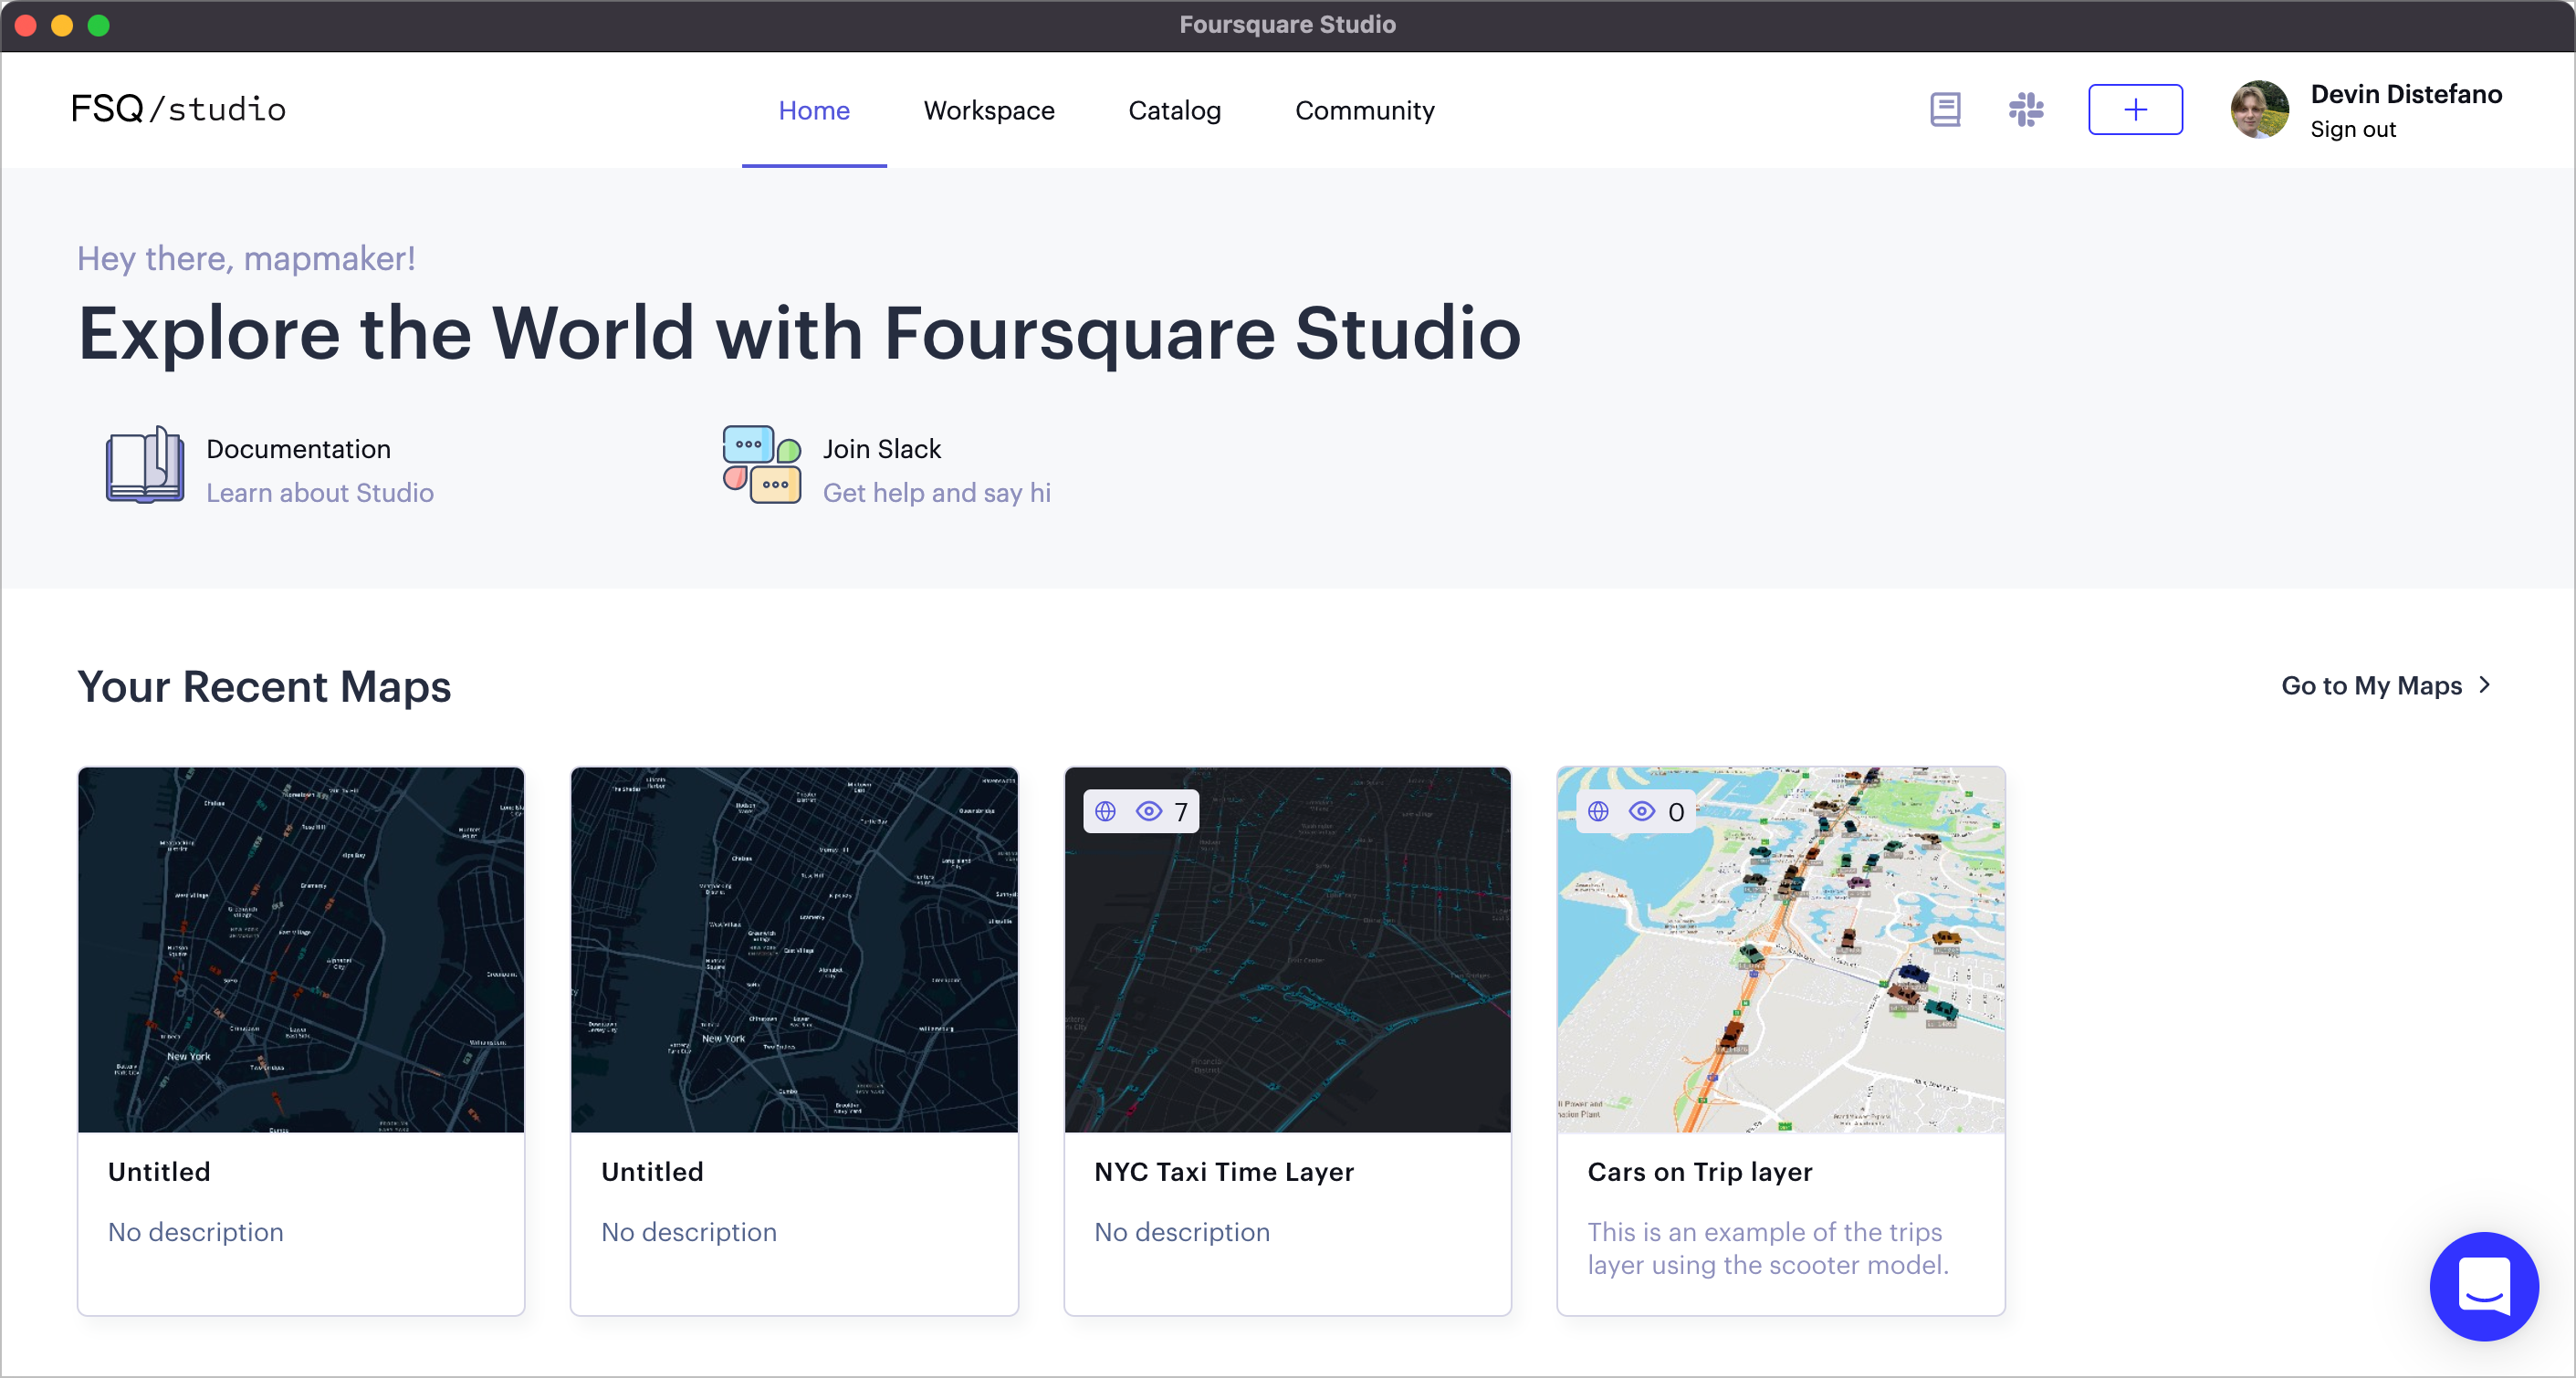
Studio's Home tab.
Scroll down the home page to view:
- Your Recent Maps, a section displaying your most recently created or updated maps.
- What's New, a section containing blog posts covering new features.
- Maps We Love, a section showing off impressive maps published by Studio users.
- Sample Maps, a section containing sample maps created with Studio.
- Tutorials, a section with video tutorials for Studio.
Note:
All assets you create in Studio are private until you publish or share them. If you want your map to be a candidate for the Maps We Love page, you need to publish and share it.
Note: All assets you create in Studio are private until you publish or share them.
If you want your map to be a candidate for the Maps We Love page, you need to publish and share it.
Documentation and Join Slack buttons
The Home page contains shortcuts to the Documentation hub and the Studio Community Slack channel.
The Documentation hub is a place to learn the Studio platform in detail, but do not hesitate to join the Studio Community on Slack to ask questions, interact with the community, and chat.
Projects
Projects allow for the organization of assets, such as maps and datasets, into project-focused buckets. Offering collaboration across your team, users can keep track of all project-related data in one place.
Create a New Project
To make a new project, follow these steps:
-
Navigate to the Dashboard tab.
-
Click + >> Project to open the new project configuration.
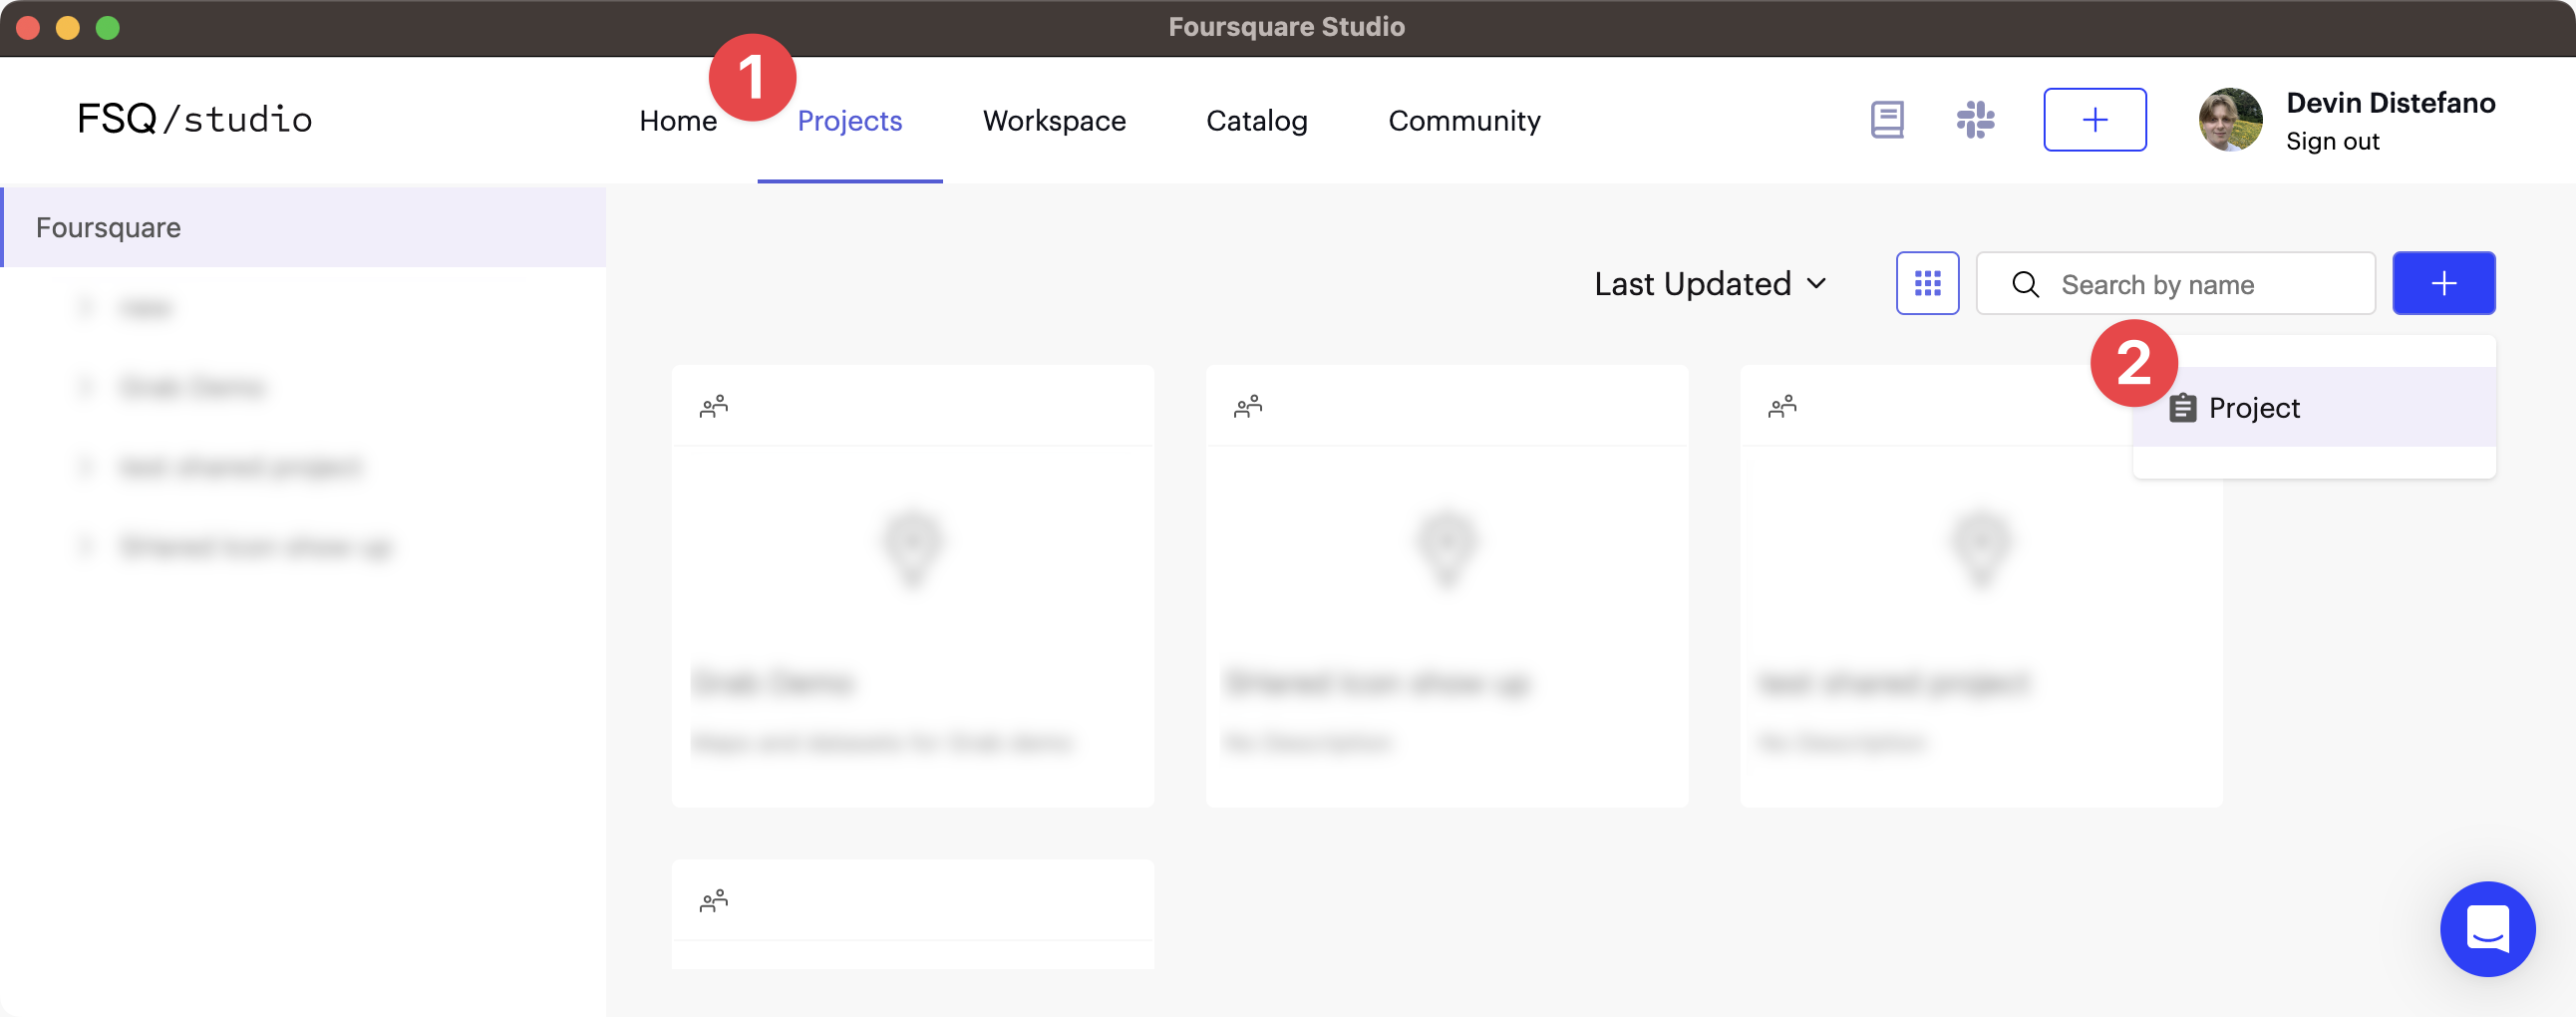
Creating a new Project in Foursquare Studio.
- In the Add Project window, add a title for your project.
If you wish to share your project with an organization, be sure to select the organization in the Organization Access dropdown menu. Optionally, add an image (square aspect ratios offer the best visibility), and a description.
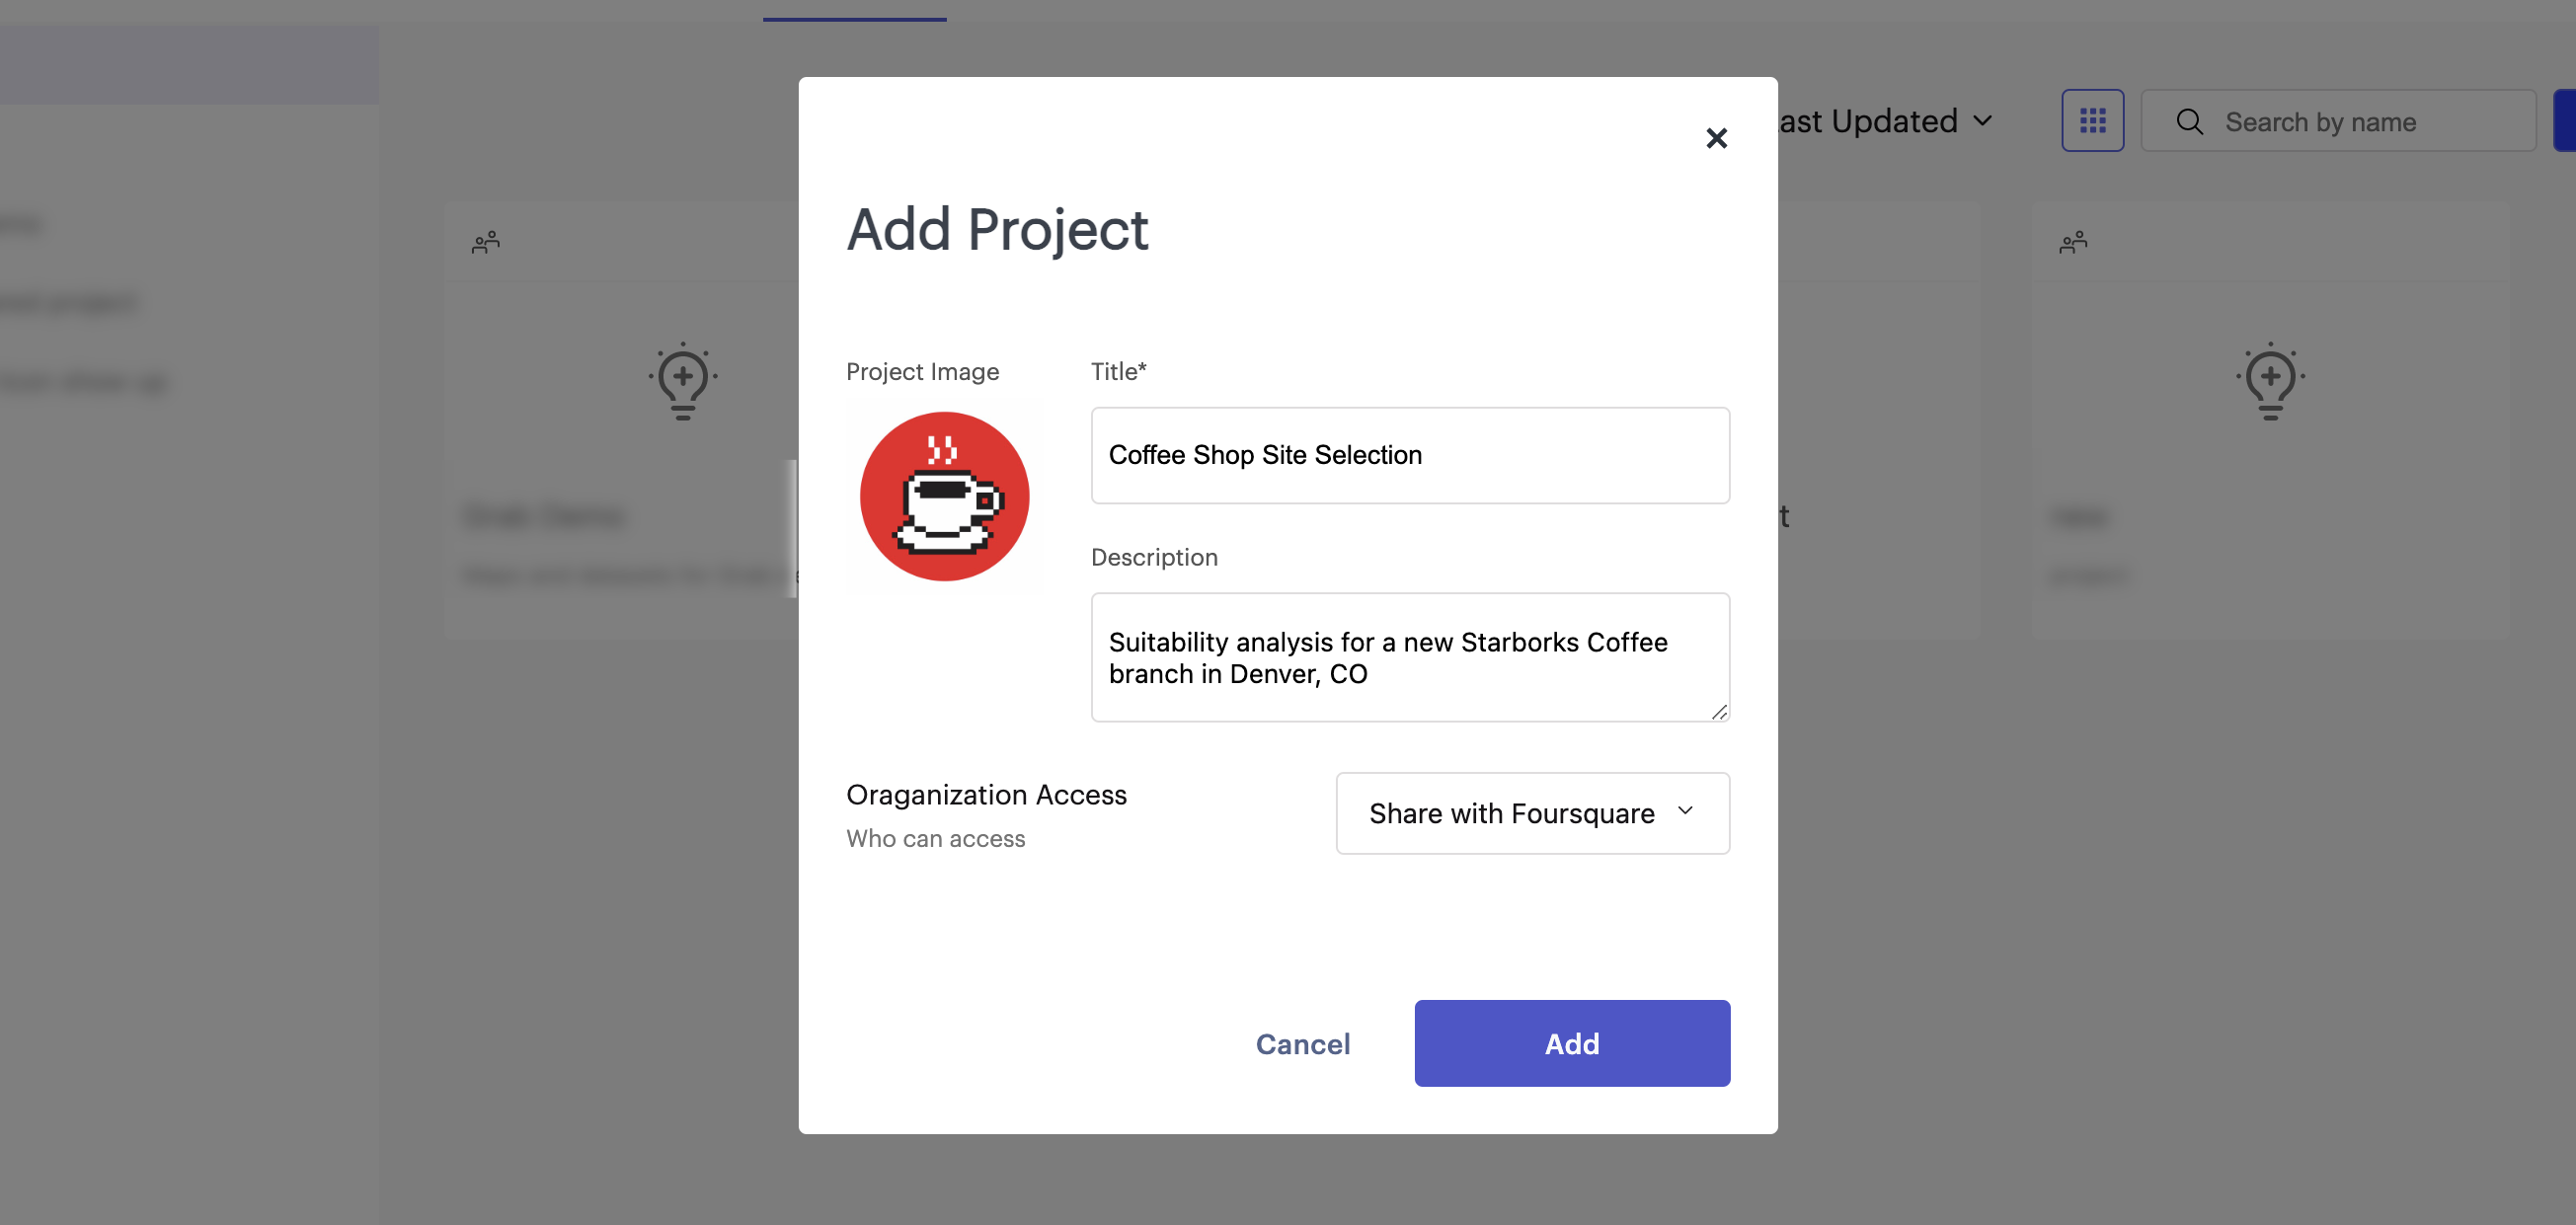
A completed project configuration window.
When complete, click the Add button. You can edit a project you created at any time.
Add Folders
Folders can contain maps and data related to an aspect of your project.
To add folders to projects, click + >> Folder. In the Add Folder window you will be prompted for a named. Optionally, provide a description.
Folders can be added to the root of projects, but may not be added within other folders.
Add Assets to Projects
To add assets to projects, simply click + >> Existing assets. You are brought to a new panel containing maps and datasets. Toggle between the two by clicking the Maps and Datasets tab at the top.
To add an asset to your project, either drag-and-drop the asset tile into the left hand sidebar, or click the checkbox on one or more asset tiles, then click + Add to, selecting the project (and optionally folder) you wish to add the asset to.
Share, Edit or Delete Projects
To share, edit, or delete a project, open the project context menu by hovering over your project in the left-hand sidebar. All three options will appear.
Note: Deleting a project will not delete any assets in the project.
Workspace
The Workspace is a central location for all saved assets in Foursquare Studio.
Assets in the workspace tab includes both your personal assets, assets shared with you, and if you are an enterprise user, your team's shared assets.
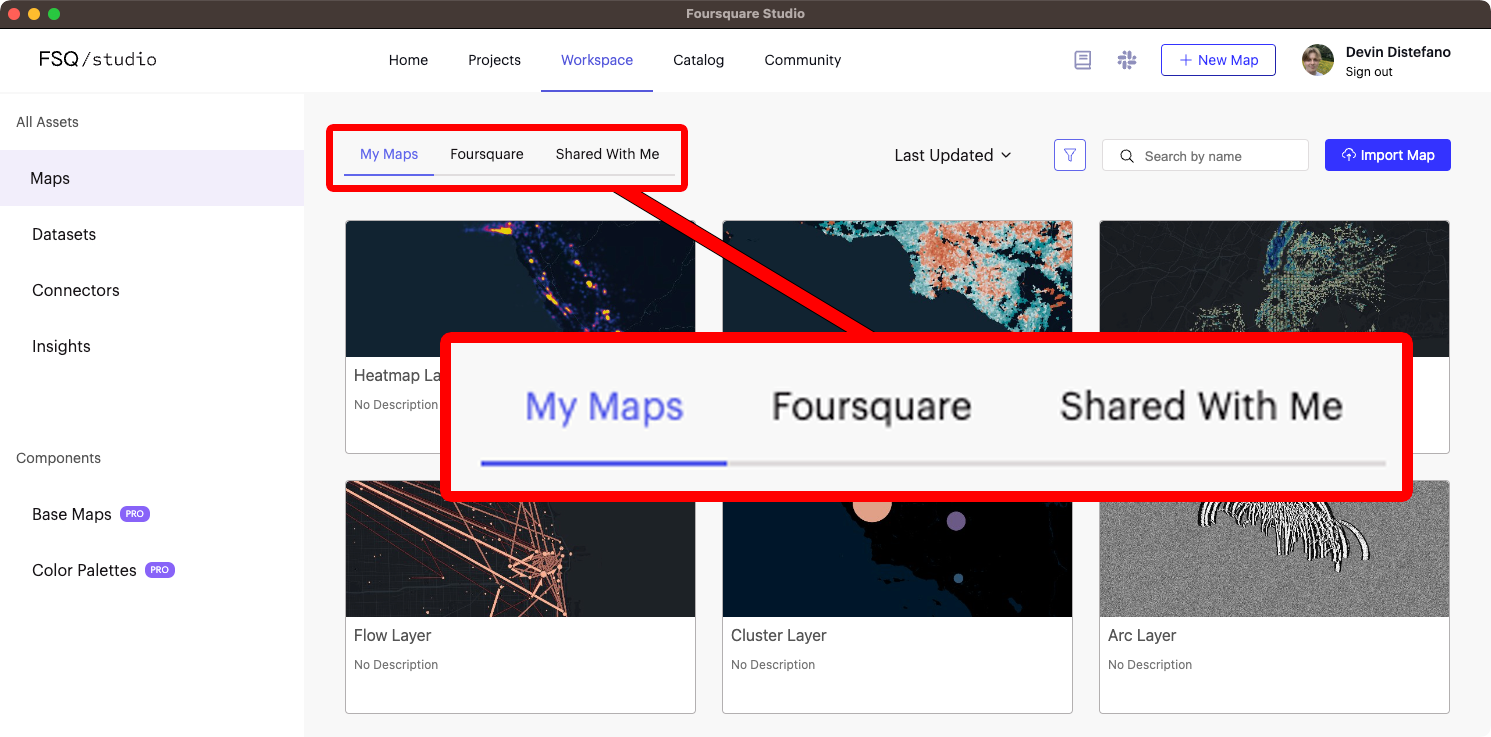
The workspace separates items into personal, team, and individually shared assets.
Maps
The Maps tab contains a library of maps on your Studio account.
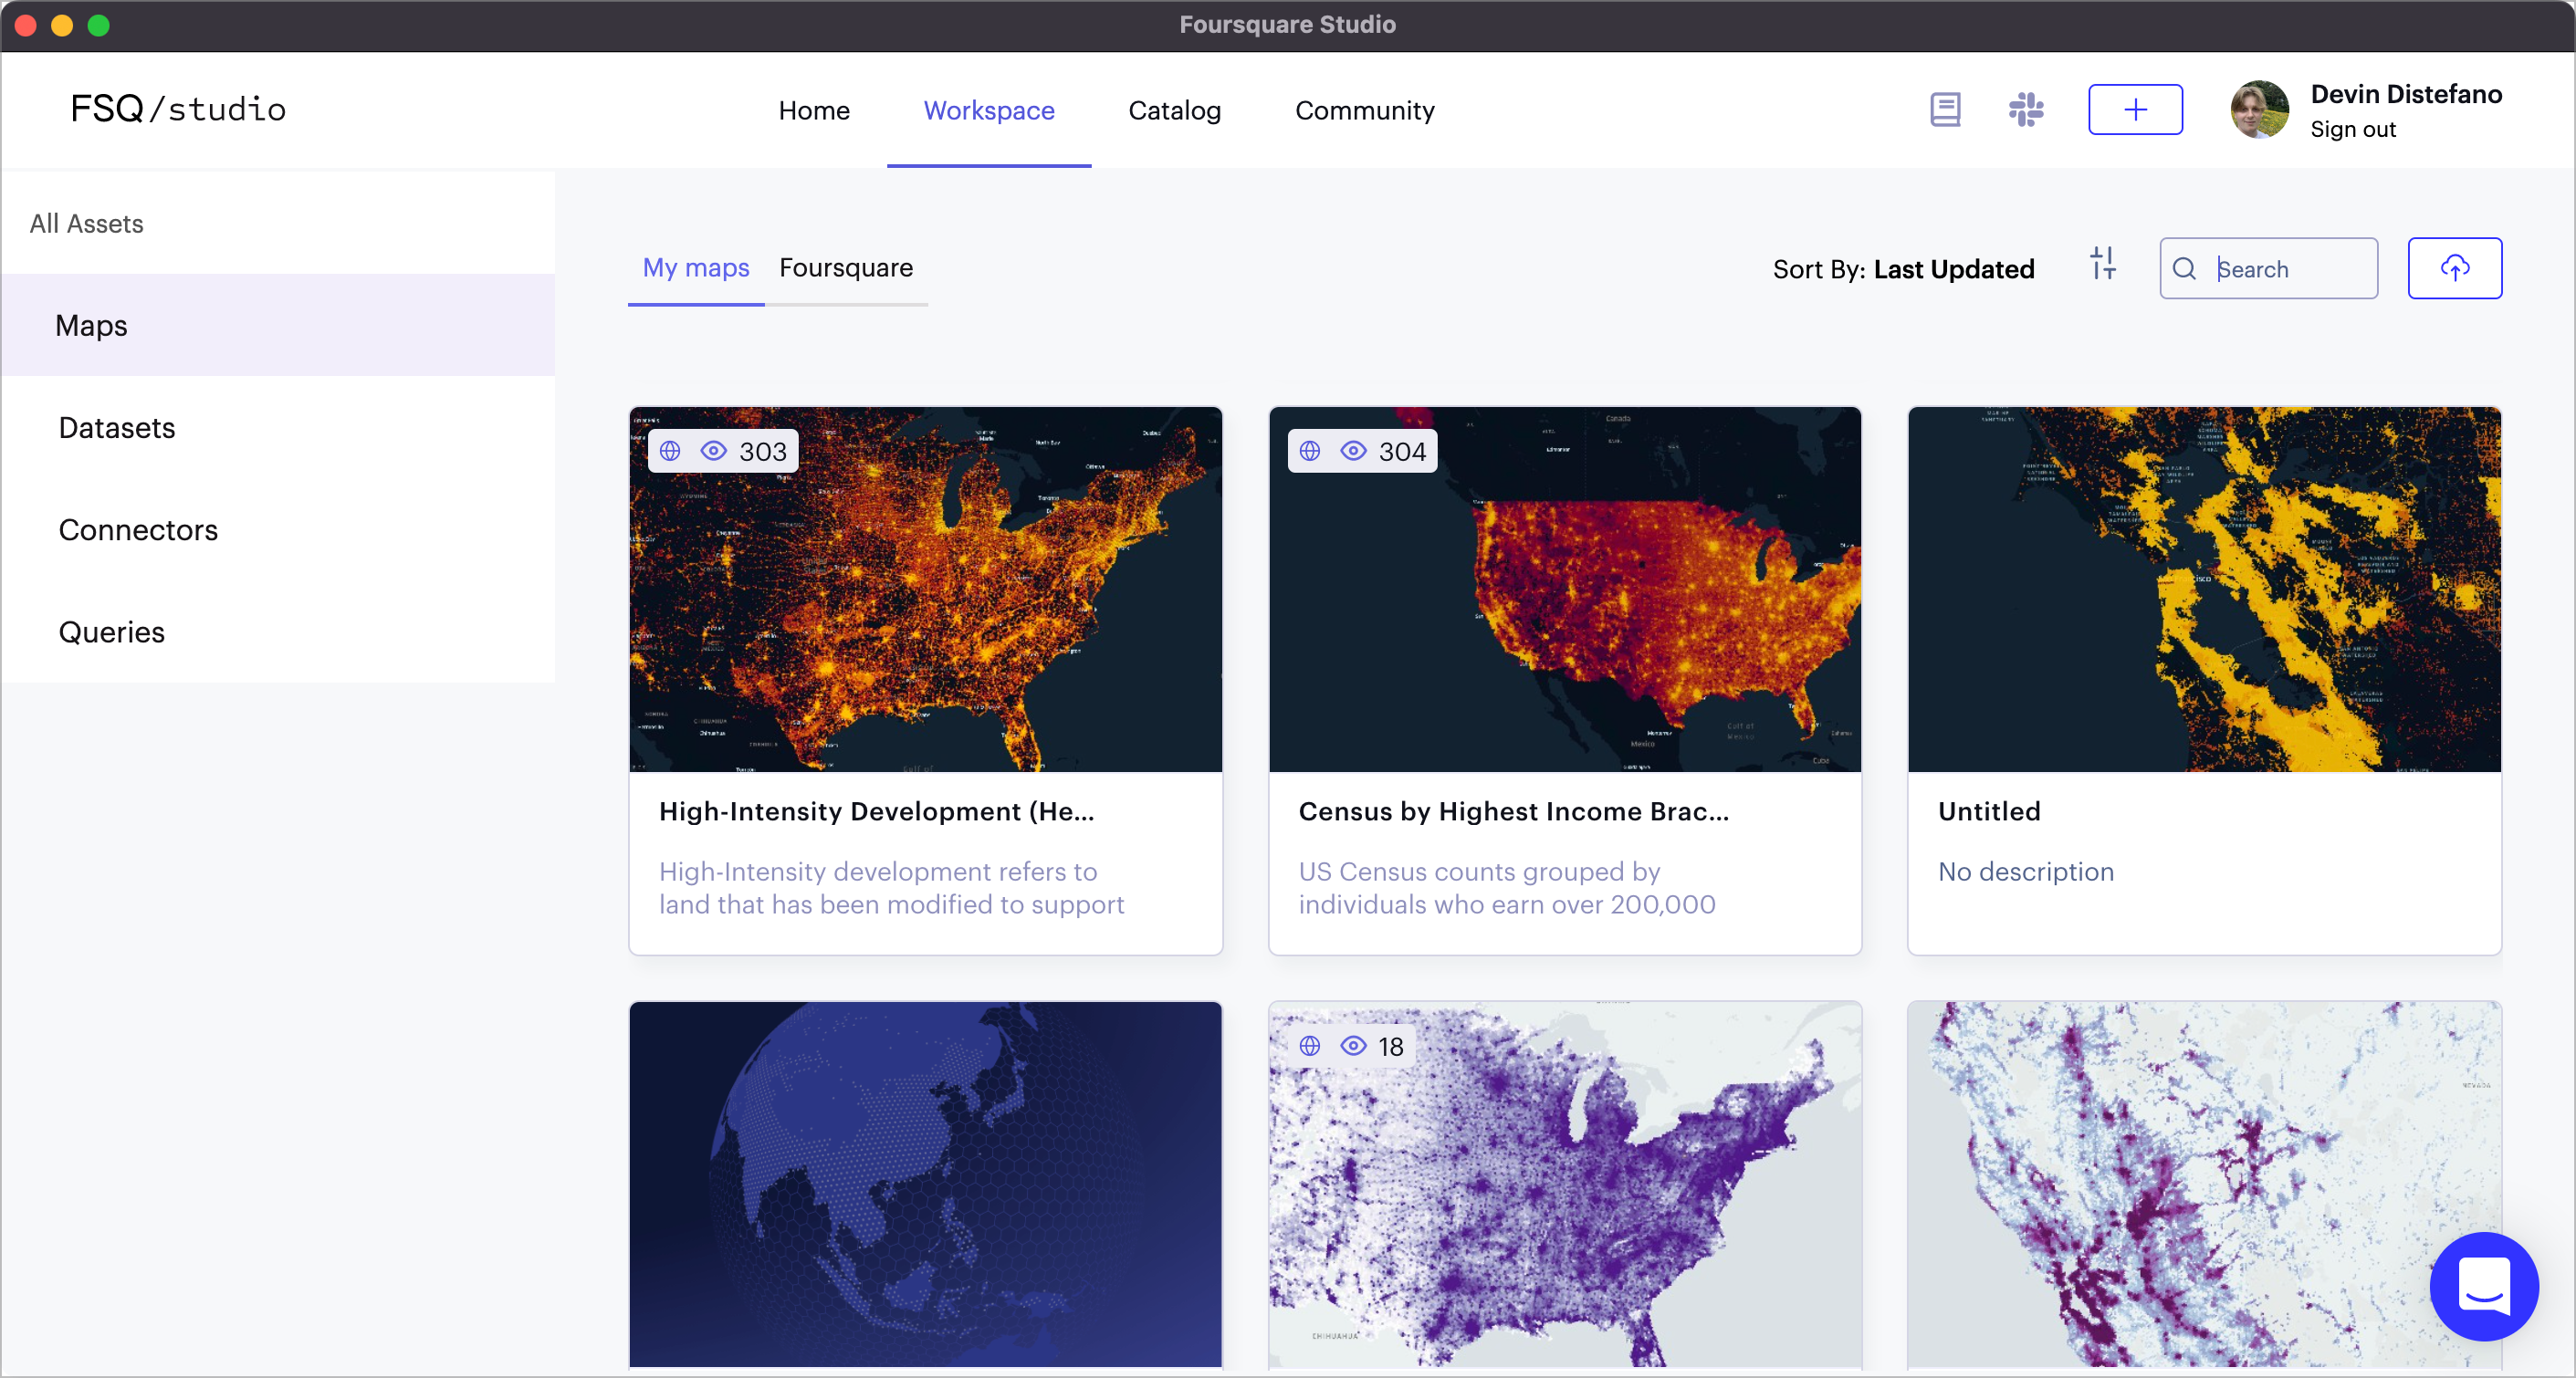
The Maps section in the Workspace.
To import a new map, click the Import Map next to the search button. Learn more about importing maps.
Select any number of maps by clicking that checkbox on the top right of a map tile. When one map is selected, you can view its metadata in the information panel to the left.
From the action bar, you can:
- Copy, creating a copy of the selected maps for use as a template in a new visualization.
- Share (Enterprise), allowing you to share the selected maps within your organization.
- Delete, which deletes the selected map. Data associated with the maps will not be erased.
- Unpublish, which unpublishes all selected maps. Only enabled for maps that are published.
- Open published map, opening the most recent published version of the selected maps. Only enabled for maps that are published.
Note: The share feature is for Enterprise accounts only. Your shared map will appear in the organization's tab.
Organize and Filter Maps
You can sort maps with the Sort By dropdown menu and search for a map with the 🔍 Search box.
To the right of the Sort By menu is the Filter button, allowing you to filter your maps with custom Tags. To create a new tag:
1. Select any number of maps, then click Add a Tag in the left panel.
2. Create a new tag or select an existing tag.
You can manage all tags at any time by clicking the Manage Tags button.
Datasets
The Datasets tab contains a library of datasets on your Studio account.
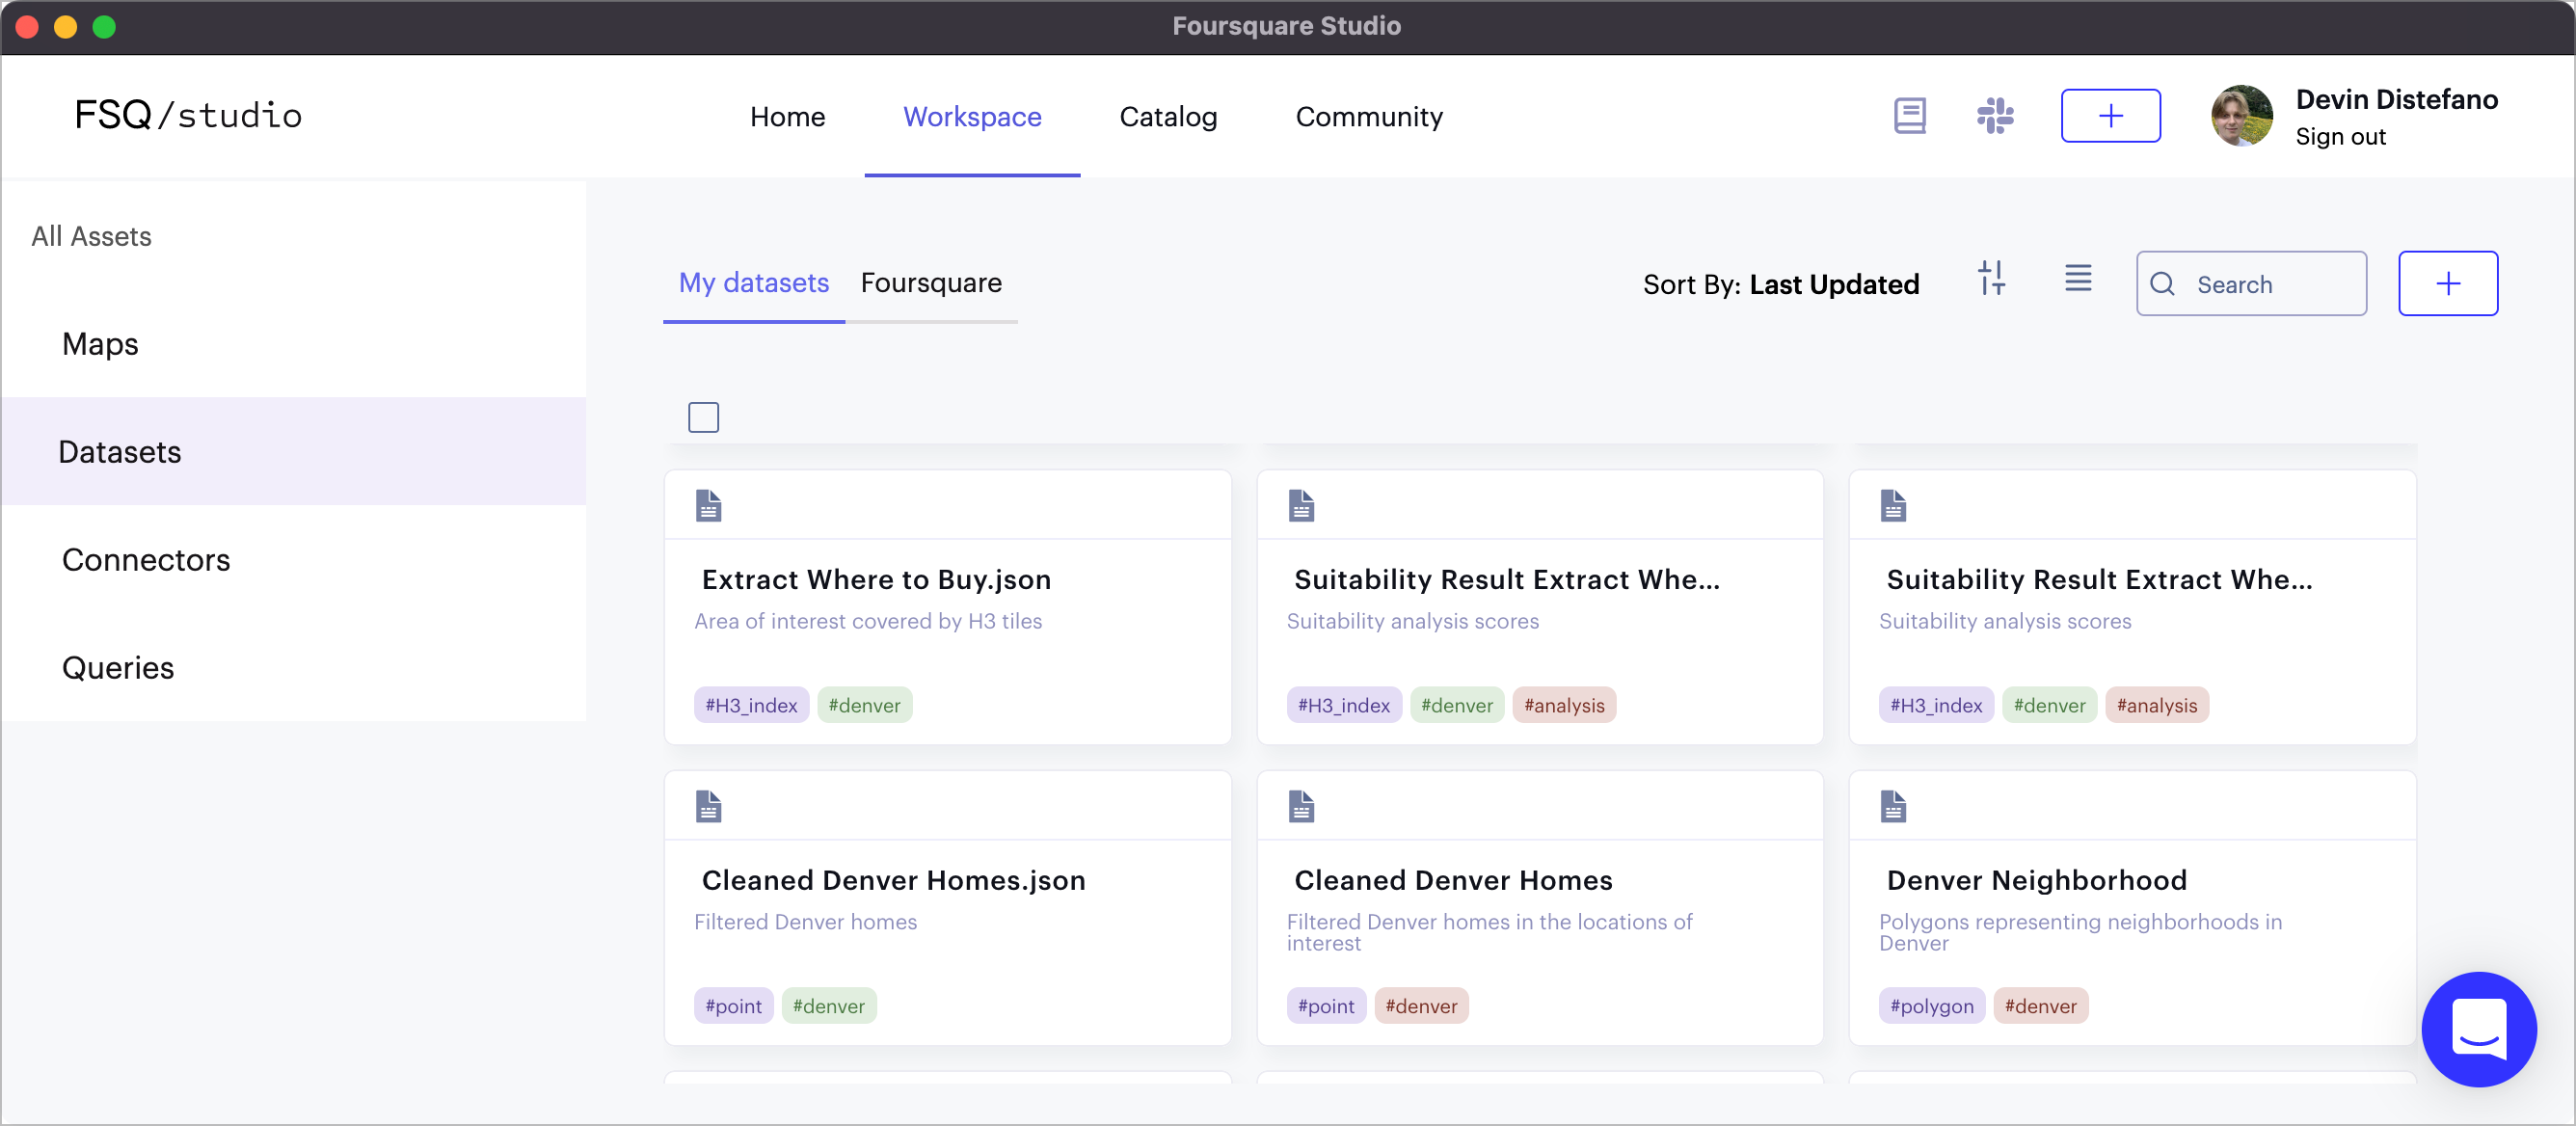
The Datasets section of the Workspace.
To import a new dataset, click Add New Dataset and select a local file of a supported format.
Click on any number of datasets to select them. You can also click the open checkbox on the top of your datasets to select all datasets.
From the action bar, you can:
- Download, allowing you to download the selected datasets to your computer.
- Hex Tile, which transforms your selected datasets into a Hex Tile dataset.
- Share (Enterprise), allowing you to share the selected datasets within an organization.
- Delete, which deletes selected datasets.
- Create Map, which creates a map from the selected datasets.
You may also click on a dataset's name to open its dedicated page. Here, you can view the dataset's metadata in the Overview tab, showing the dataset's creation date, when it was last updated, as well as its file type and size.
You can explore your entire dataset in the Data tab.
Note: Deleting a dataset will affect all maps that use it, disconnecting any layers that reference the deleted dataset.
Studio will show you a list of maps affected by a dataset's deletion, then ask you to confirm the deletion.
Organize and Filter Datasets
Datasets can be organized in a similar fashion to maps. Open the Sort By dropdown then sort your datasets by either their name or date. To view your dataset in a compact, lined layout rather than a tiled display, click the List View to the left of the search box.
You can sort datasets with the Sort By dropdown menu and search for a dataset with the 🔍 Search box.
To the right of the Sort By menu is the Filter button. Here, you can filter your datasets by Data Type, # Maps Used, and custom Tags. To create a new tag:
1. Select any number of datasets, then click Add a Tag in the left panel.
2. Create a new tag or select an existing tag.
Tags can be edited at any time by clicking the Manage Tags button.
When you select multiple filters, you by default display all datasets that meet any of the selected criteria. However, you can click the Only text beside the filter option to ensure all results contain the selected criteria.
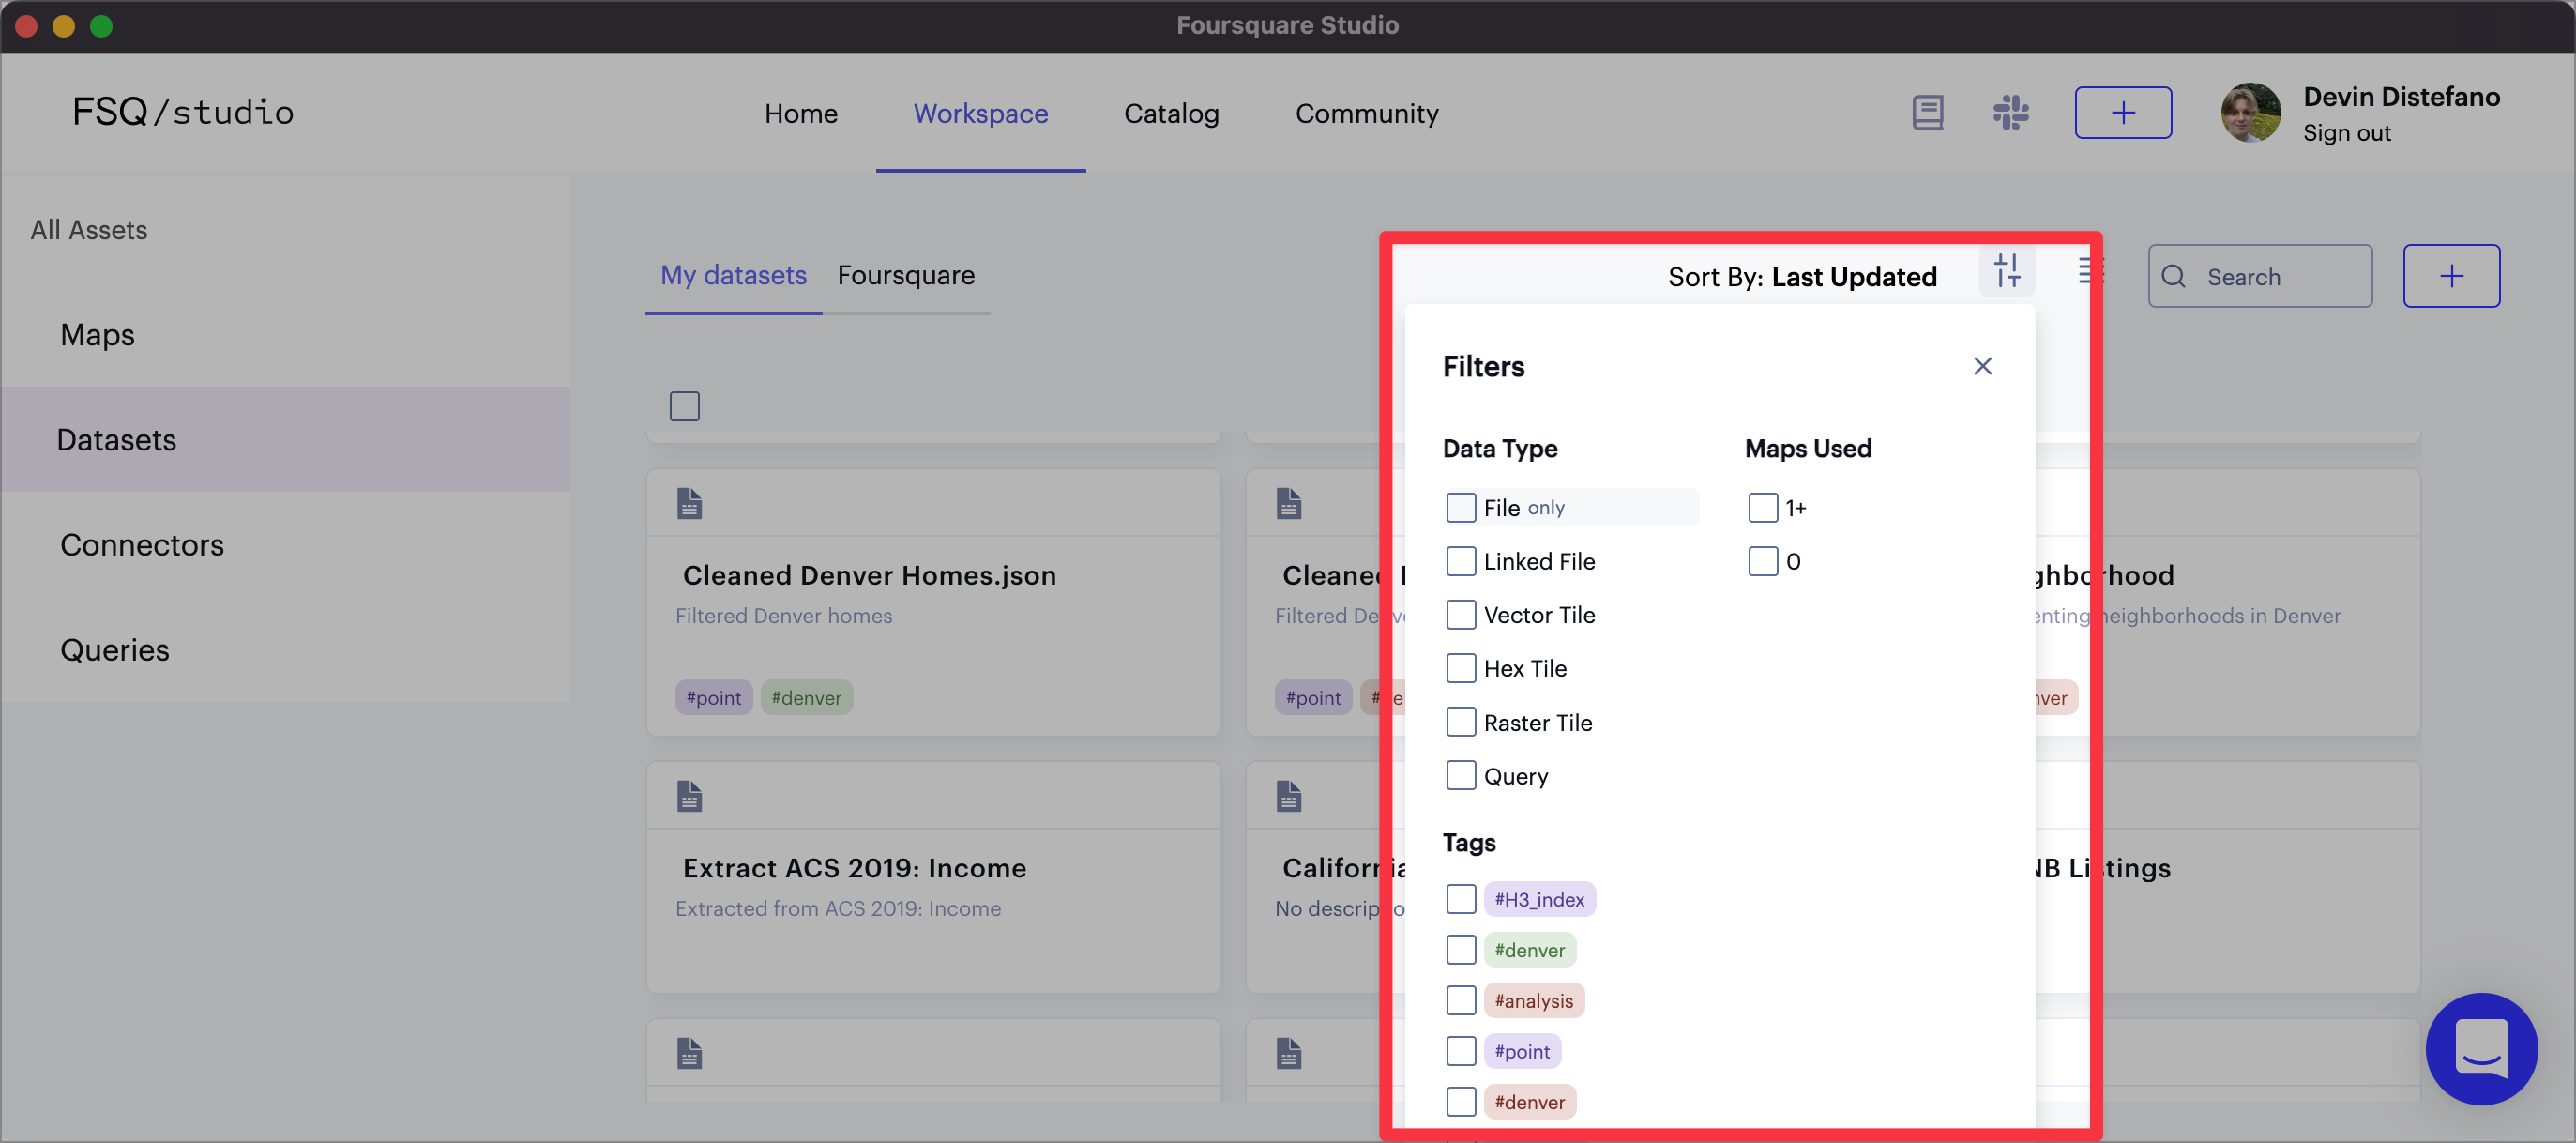
Filters in the Datasets section of the Workspace.
Connectors
Data Connectors let you query and connect to popular databases and data providers, such as Athena, Bigquery, Redshift, and much more.
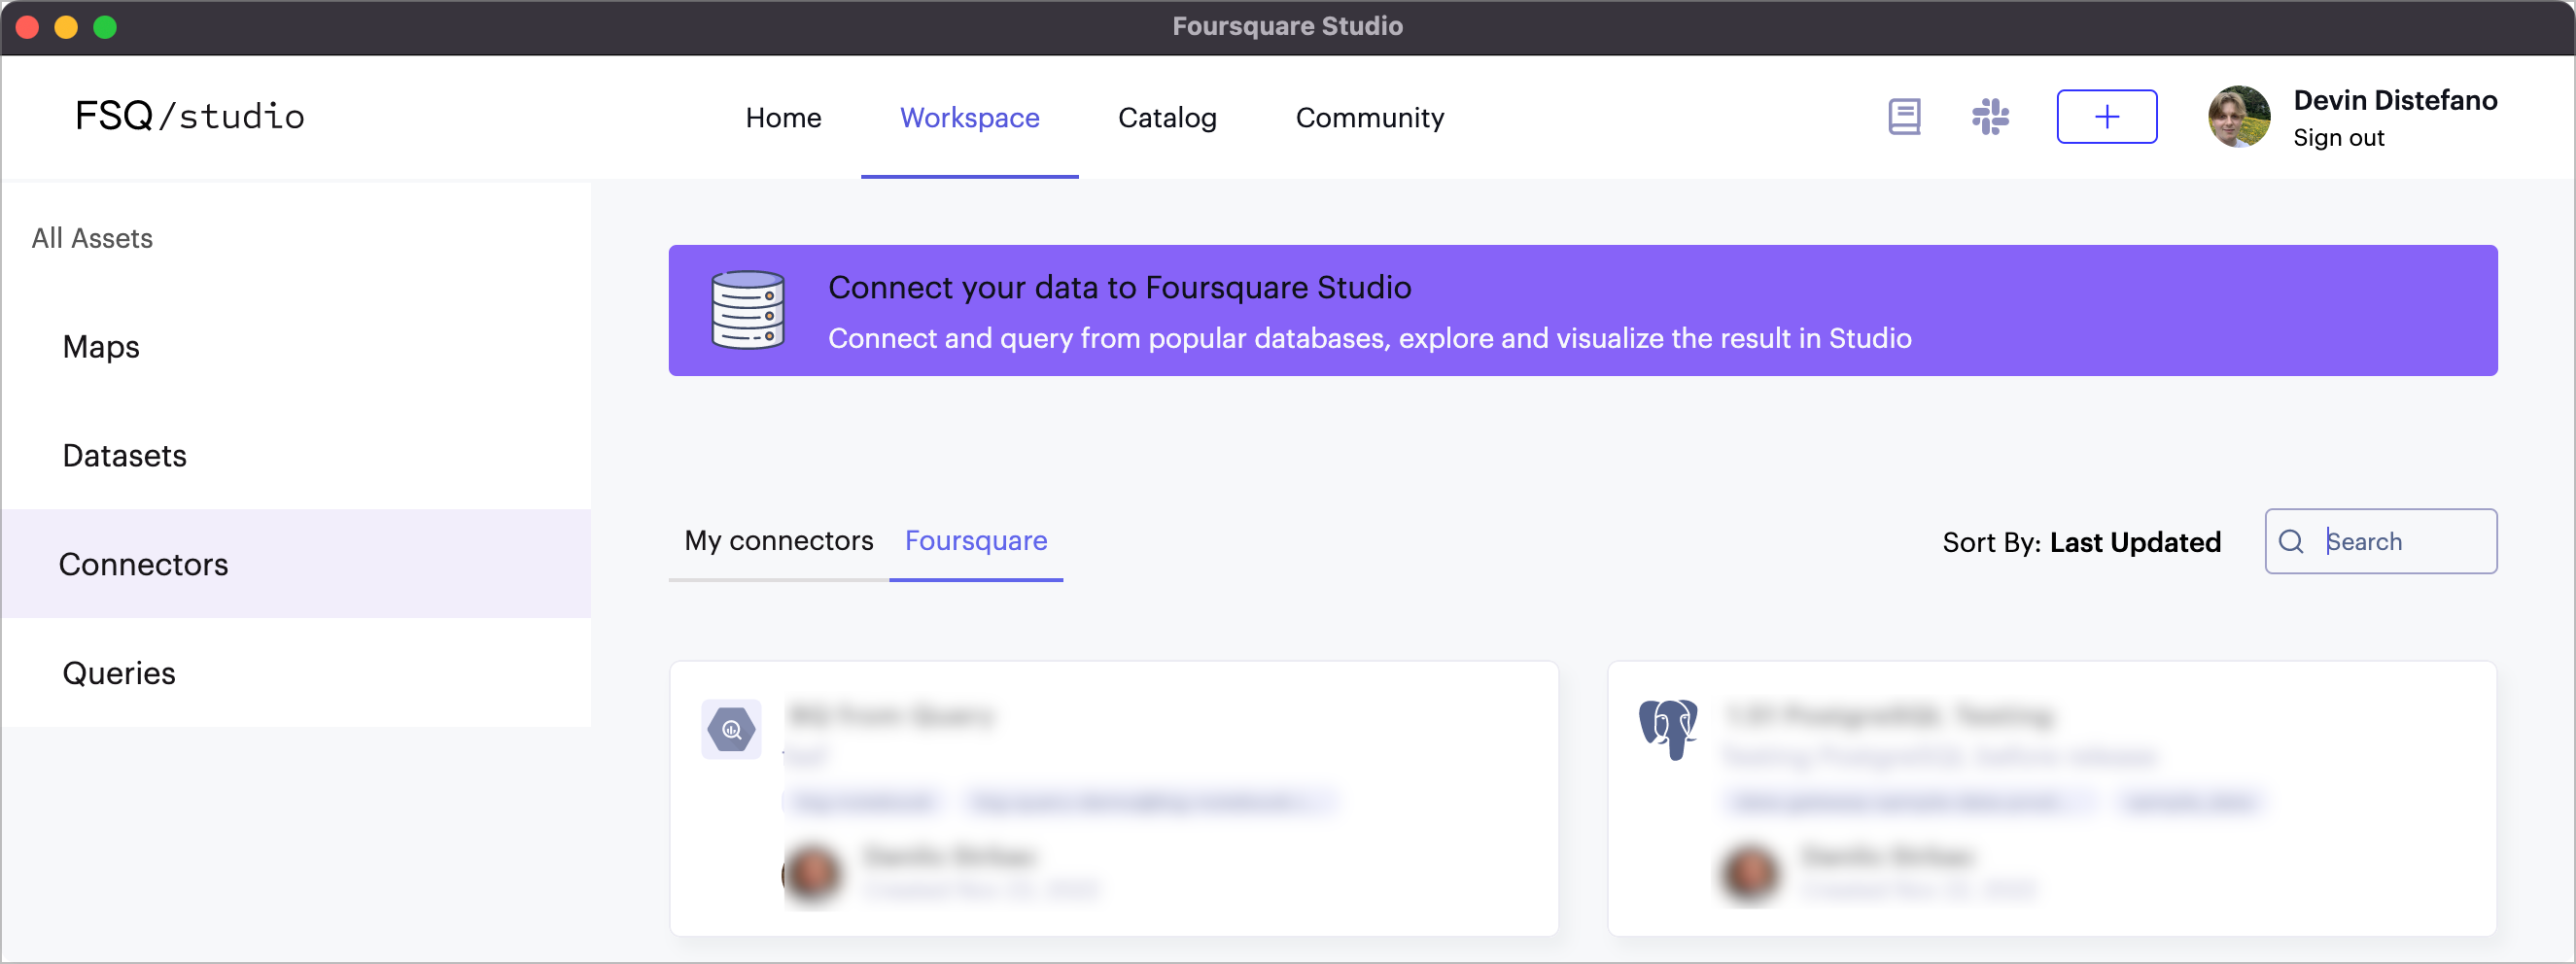
The Connectors section of the Workspace.
Click Add New Data Connector then follow the instructions specific to your data provider.
To share a data connector with your organization, click the ⋮ More Options button, then click Share.
If you want to delete a data connector, click the ⋮ More Options button, then click Delete.
Queries
SQL queries made from Studio are saved in the Queries section.
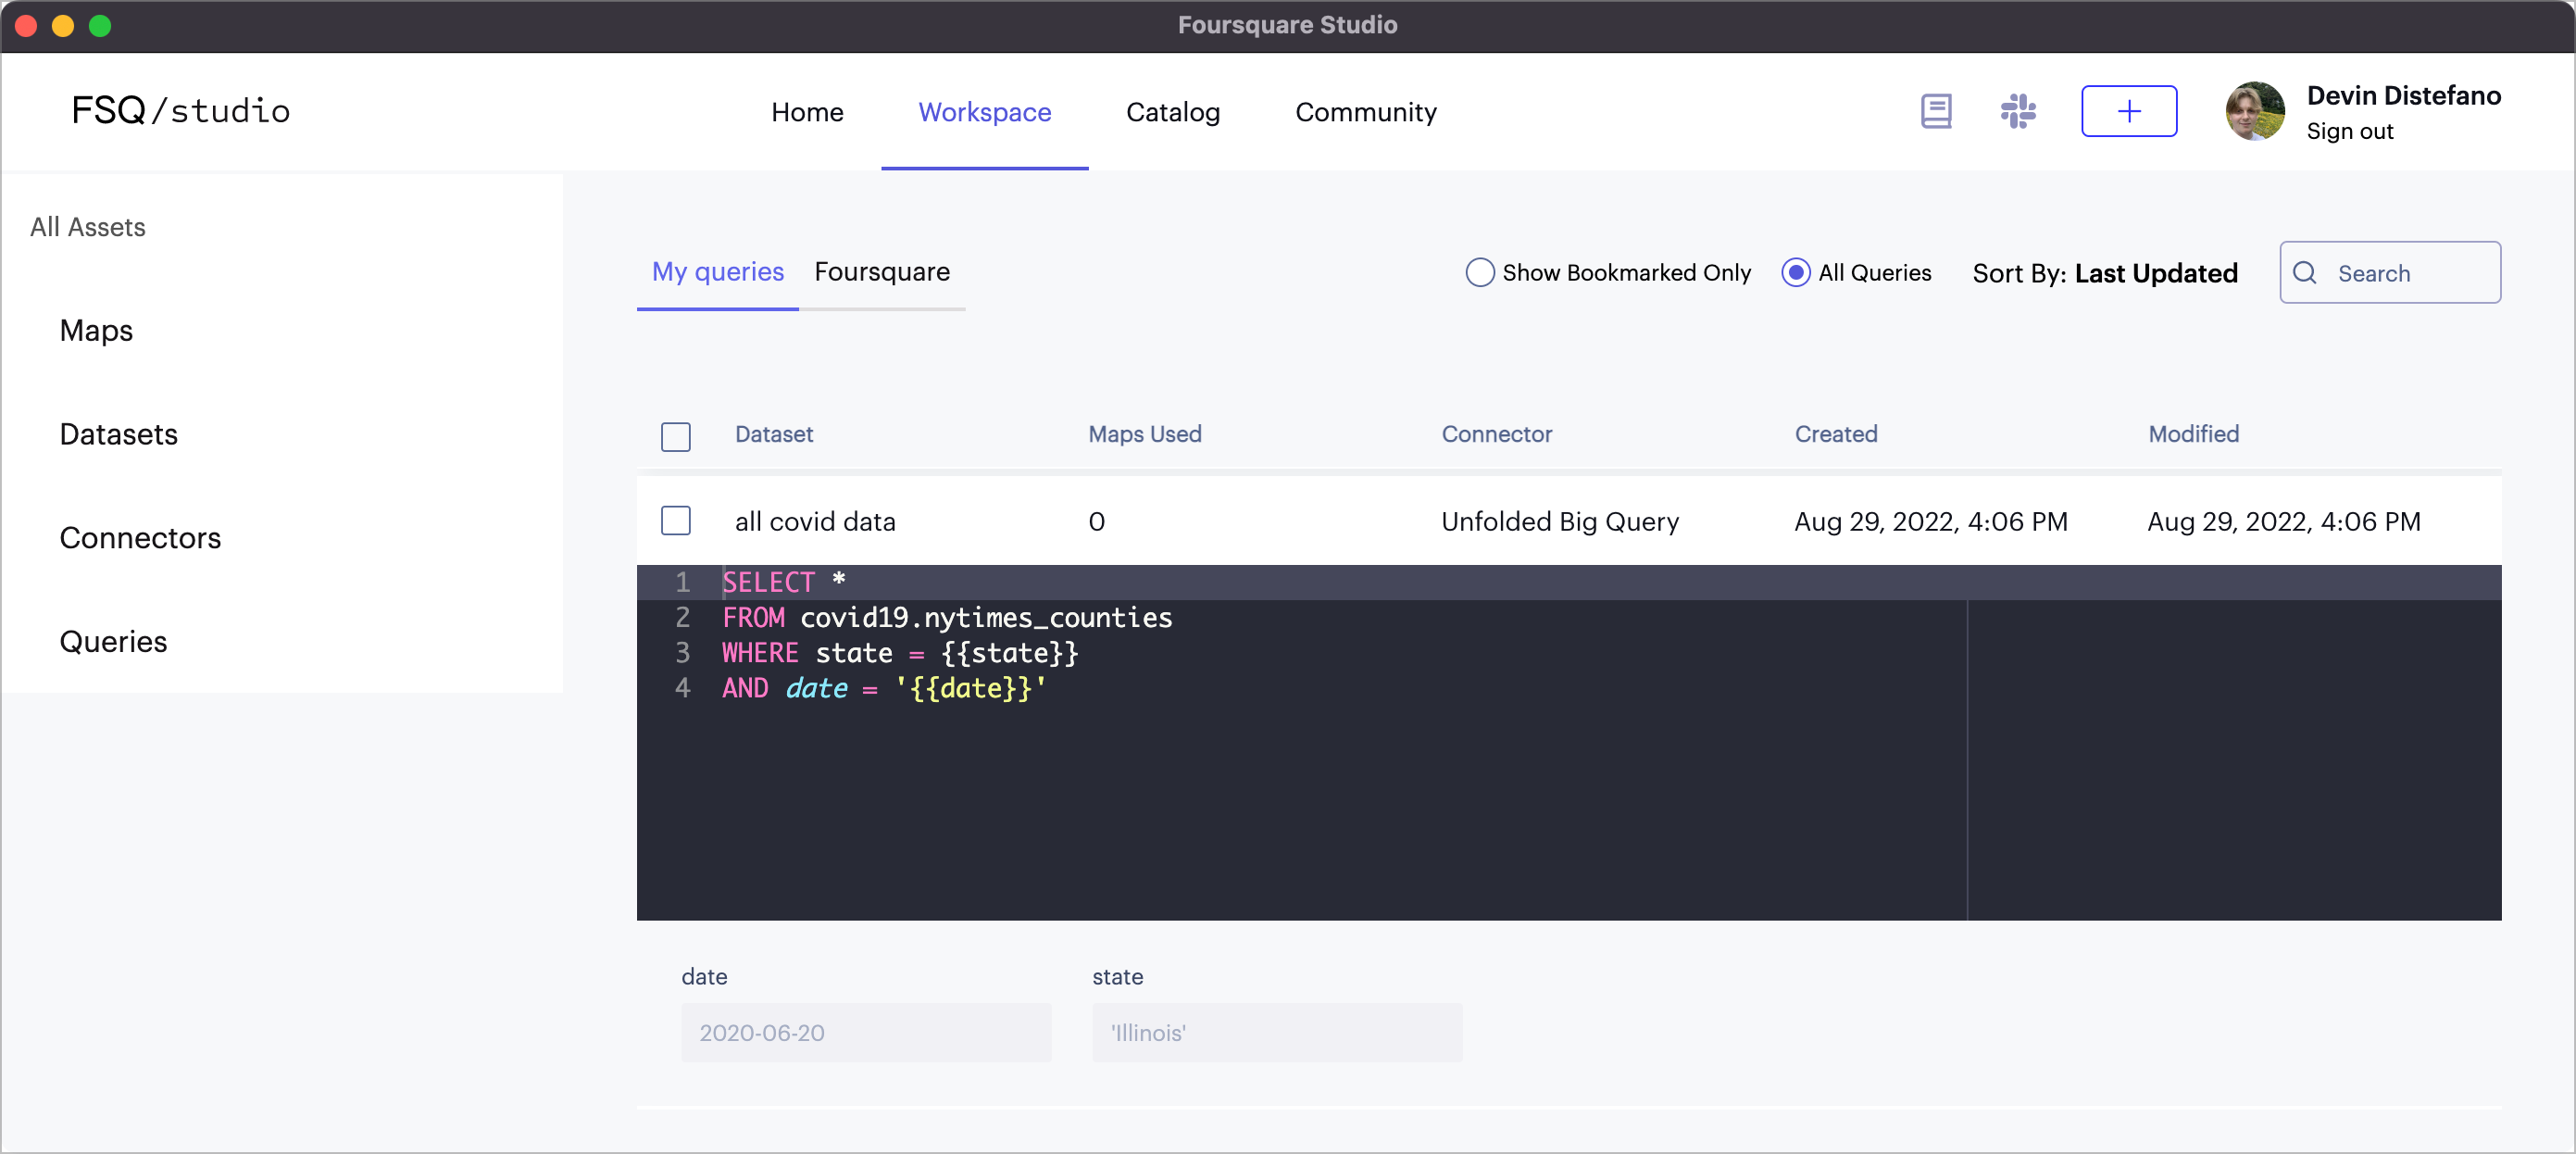
The Queries section of the Workspace.
Note: While the data is still technically visible to the Studio cloud, your data is not stored in the Studio Platform, and instead just streamed directly to the user.
Click a query's checkbox to select/deselect it. Click the checkbox at the top of the query panel to select all queries. Selecting a query opens an action bar containing several buttons.
From the action bar, you can:
- Share (Enterprise), allowing you to share the selected queries within an organization.
- Delete, which deletes selected queries.
- Create Map, which creates a map from the selected queries.
Queries are displayed in a list view, showing the number of maps used, the connector the query is related to, then the creation and modification date.
Organize and Filter Queries
Use the Show Bookmarked Only radio button to show only queries bookmarked by you or your organization.
If you are having trouble finding your queries, use the Sort By dropdown menu or type a keyword into the Search box.
Base Maps
The Base maps tab contains a list of all base maps saved to your Foursquare Studio account. Switch to your group's shared library by clicking your organization name.
To share base maps with your team, select any number of base maps then click the Share button. Upon selecting and confirming your team, all base maps can be used by other accounts connected to your enterprise.
Base maps are similar to other assets, and can be filtered, tagged, and sorted.
Color Palettes

Viewing color palettes saved to the organization.
The Color Palettes tab shows all custom color palettes saved to your account. Switch to your group's shared library to view all color palettes added to your organization's shared library.
To share color maps with your team, select any number of palettes then click the Share button. Once shared, all color palettes shared will be available for use within Studio.
API Keys
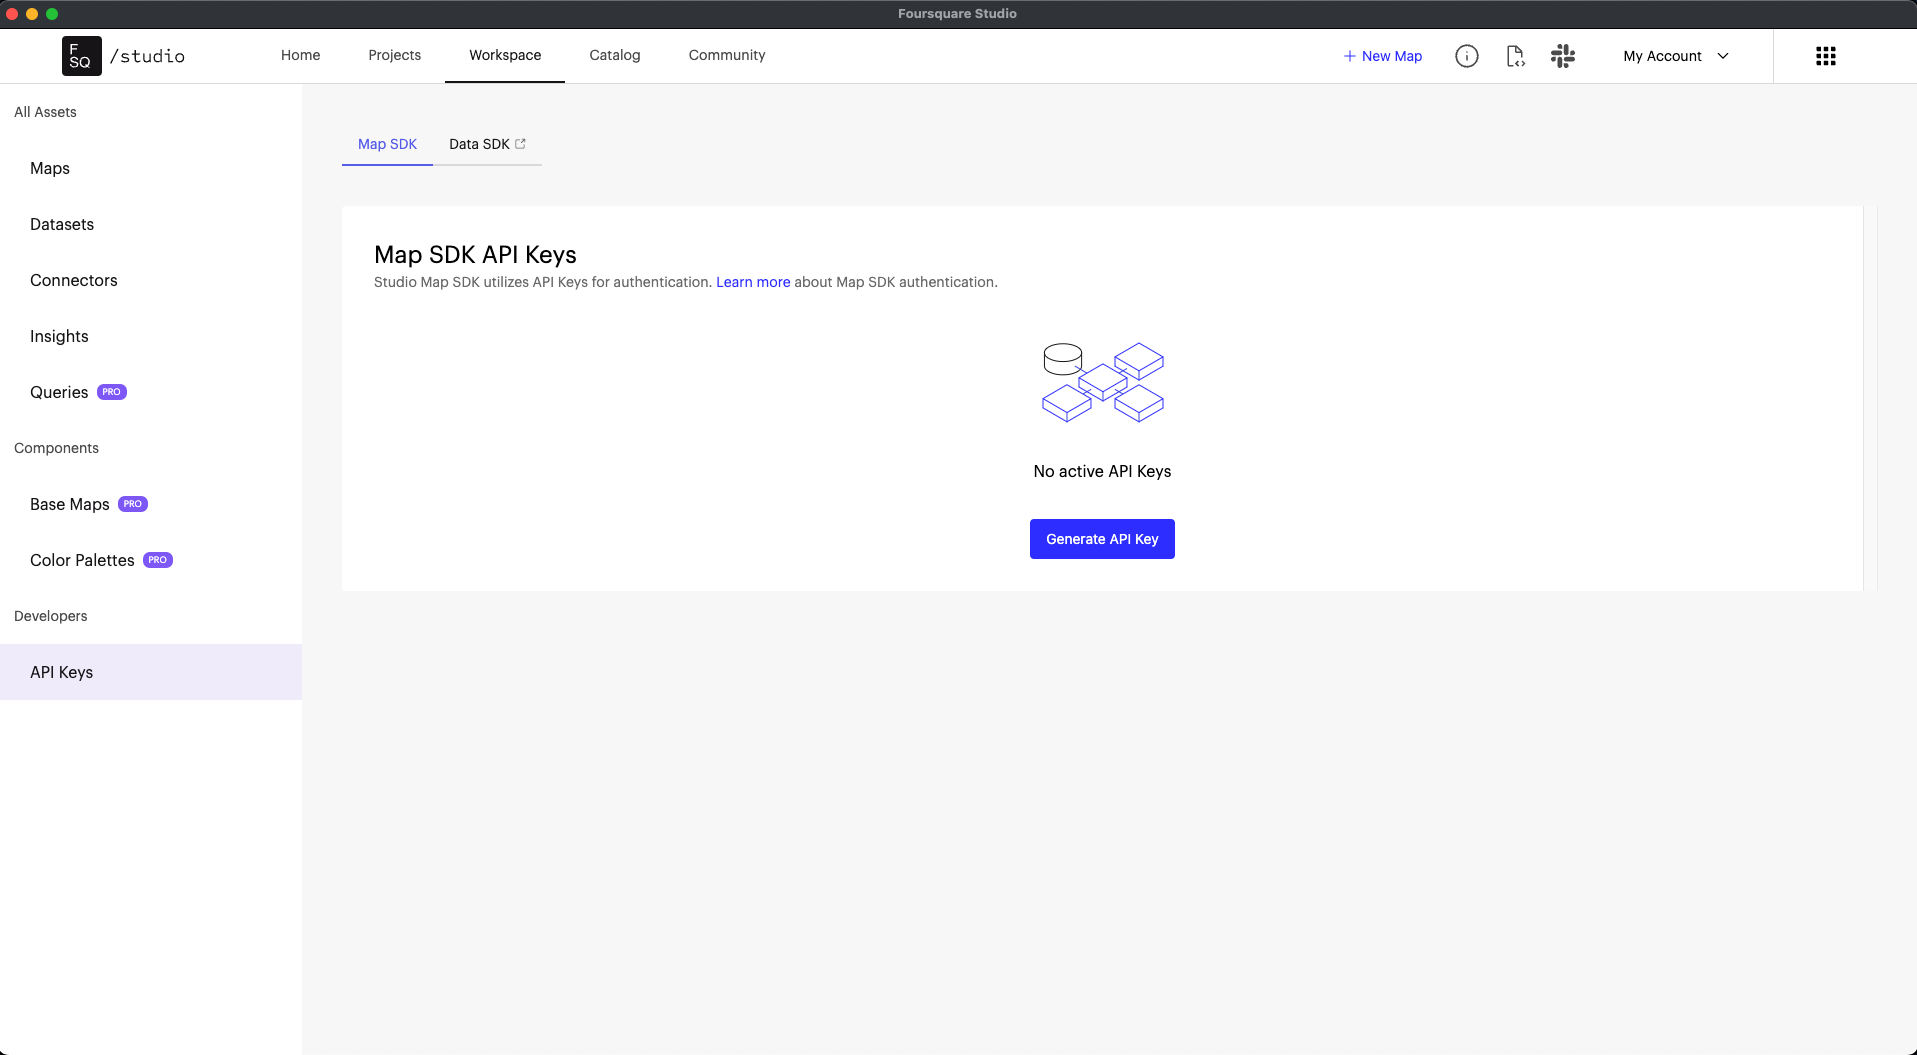
API Keys.
Use API Keys tab to create API Key or see all API Keys shared within an Organization to authenticate to Map SDK. All members of the same Studio Organization can view, create, update and delete any of the API Keys.
Catalog
The Catalog tab contains a growing collection of curated datasets provided by Studio and our partners. These datasets are diverse, separated into categories such as demographics, elevation, and remote sensing.
Click on any dataset to preview its data. To create a new map from the selected dataset, click Create Map.
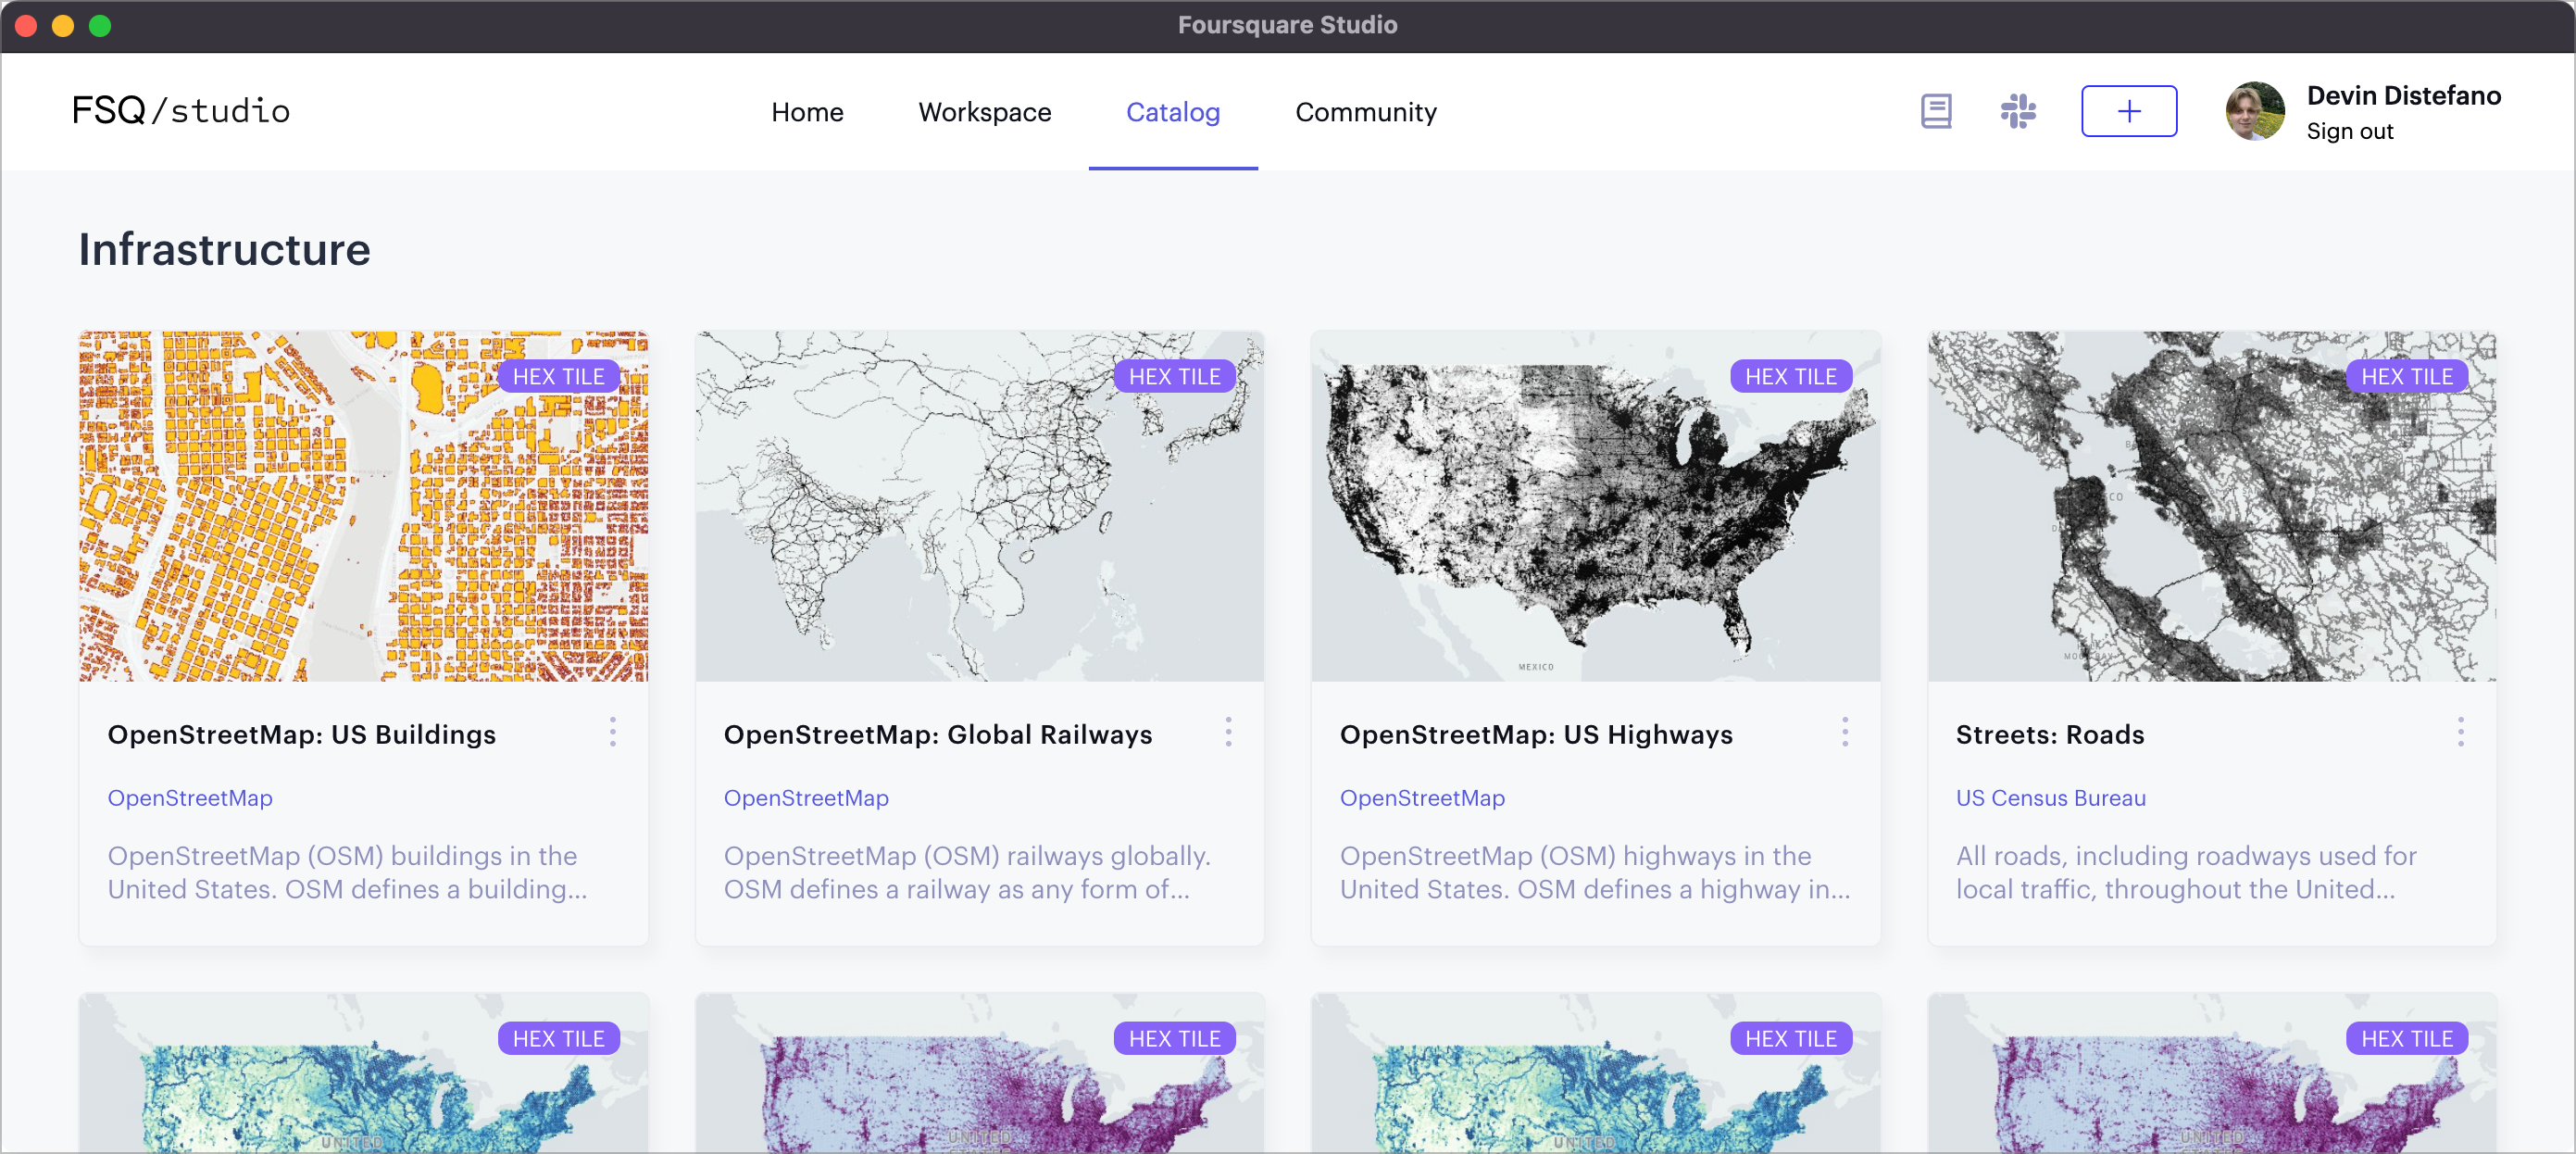
Studio's Data Catalog.
Community
The Community tab is a place to get inspired by new maps from other Studio users. Click on any map to view it in Studio.
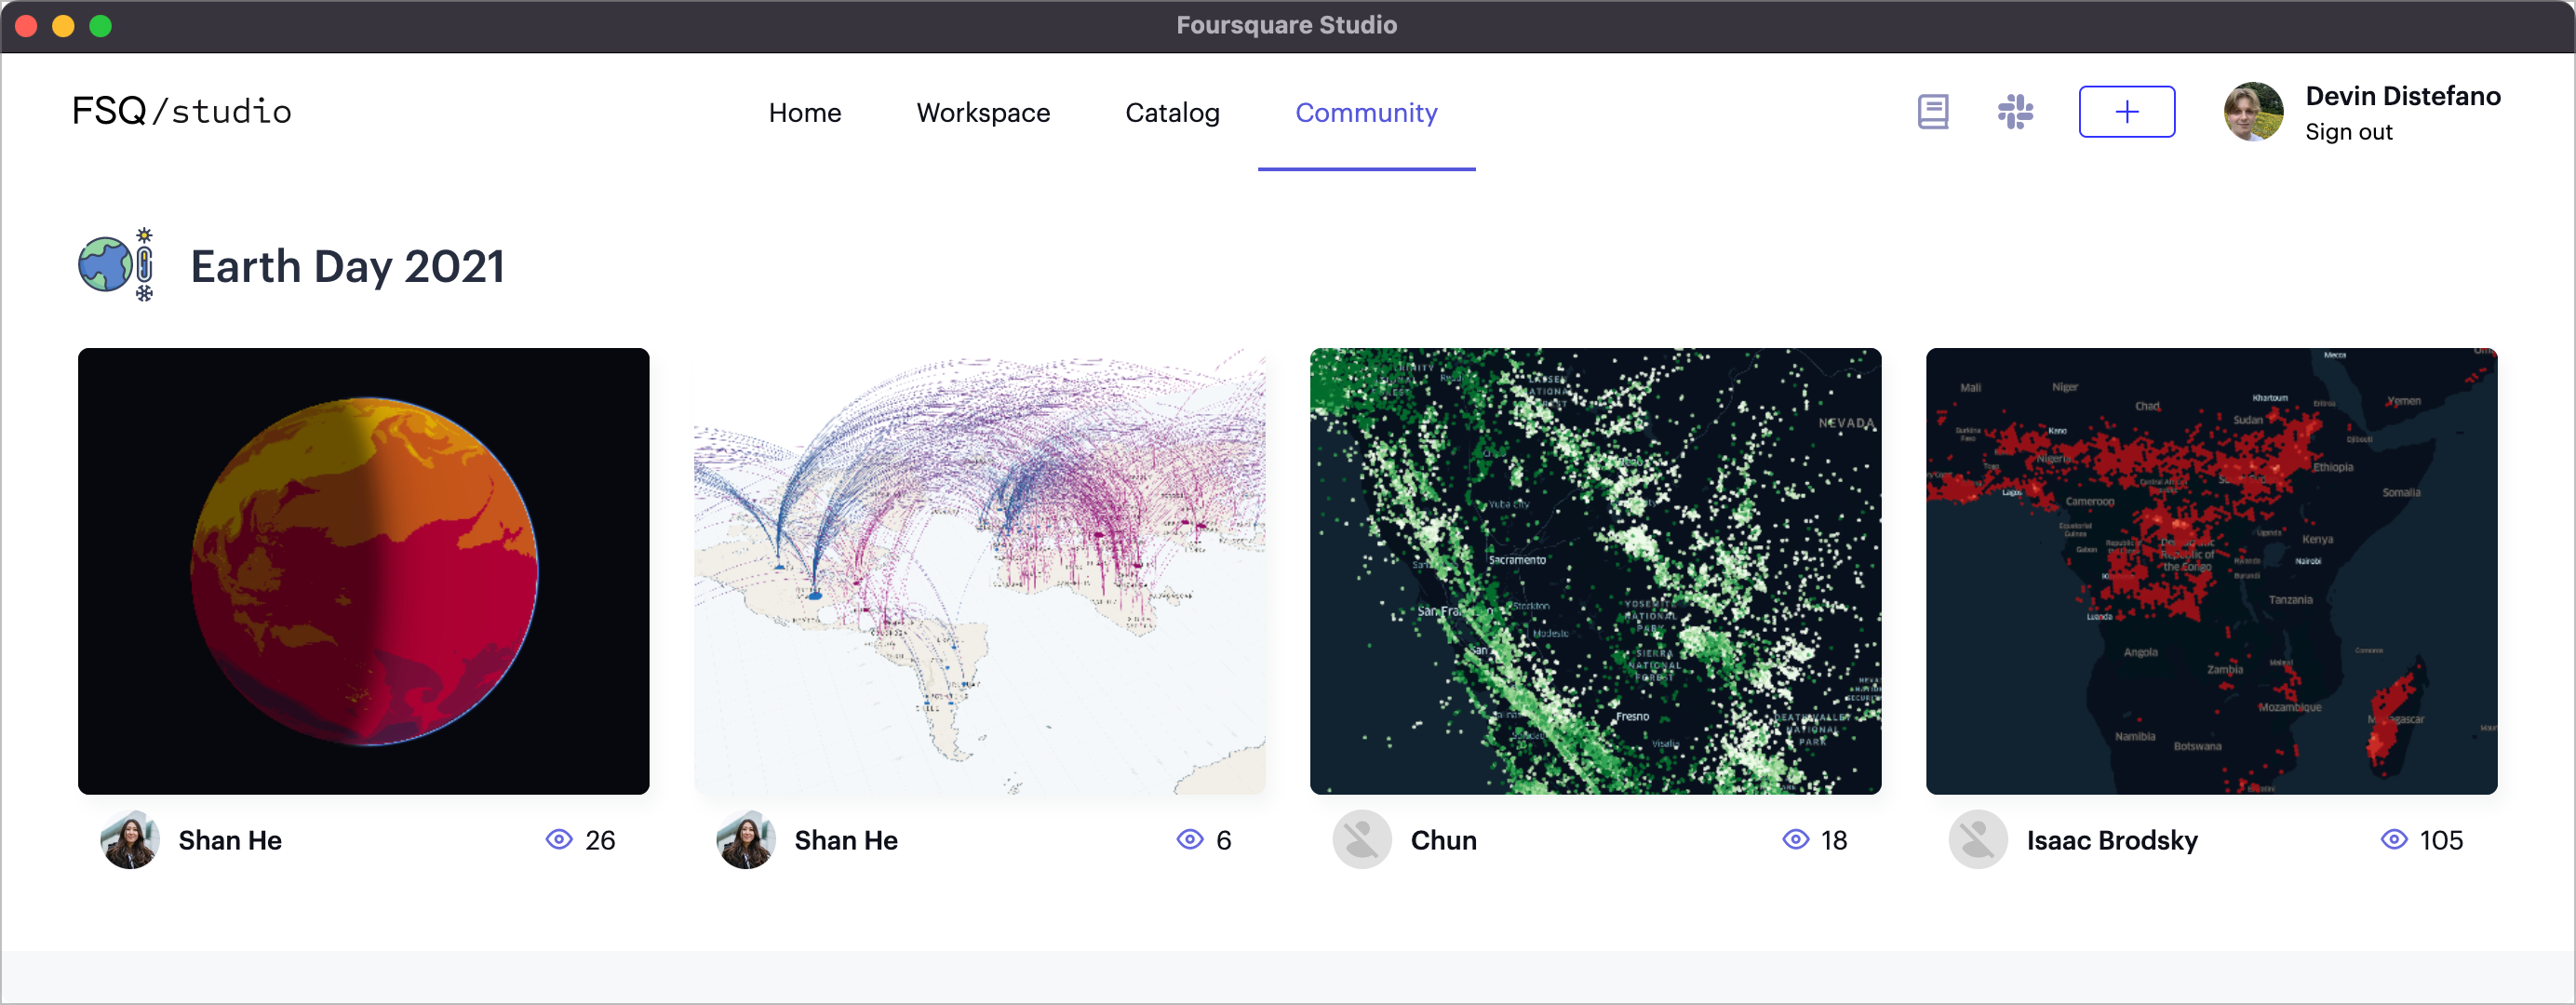
Earth Day 2021 submissions on the Community tab.
Updated about 14 hours ago