
Overview
The Studio platform provides data connectors, allowing you to connect to popular databases and data providers.
Data connectors let you perform queries against your databases directly from Studio without saving or caching them to Studio. You may also define query parameters, allowing you to quickly edit queries while within Studio.
New connectors are being added based on customer request. Check back regularly to see what new connectors have become available, or contact us directly if there is a connector that would fit your use case.
Add a New Data Connector
Follow these steps to add a new data connector to Studio:
Add a Connector in Studio Dashboard
1. From the Studio home page, navigate to the Data tab, then, under Data, click Connectors.
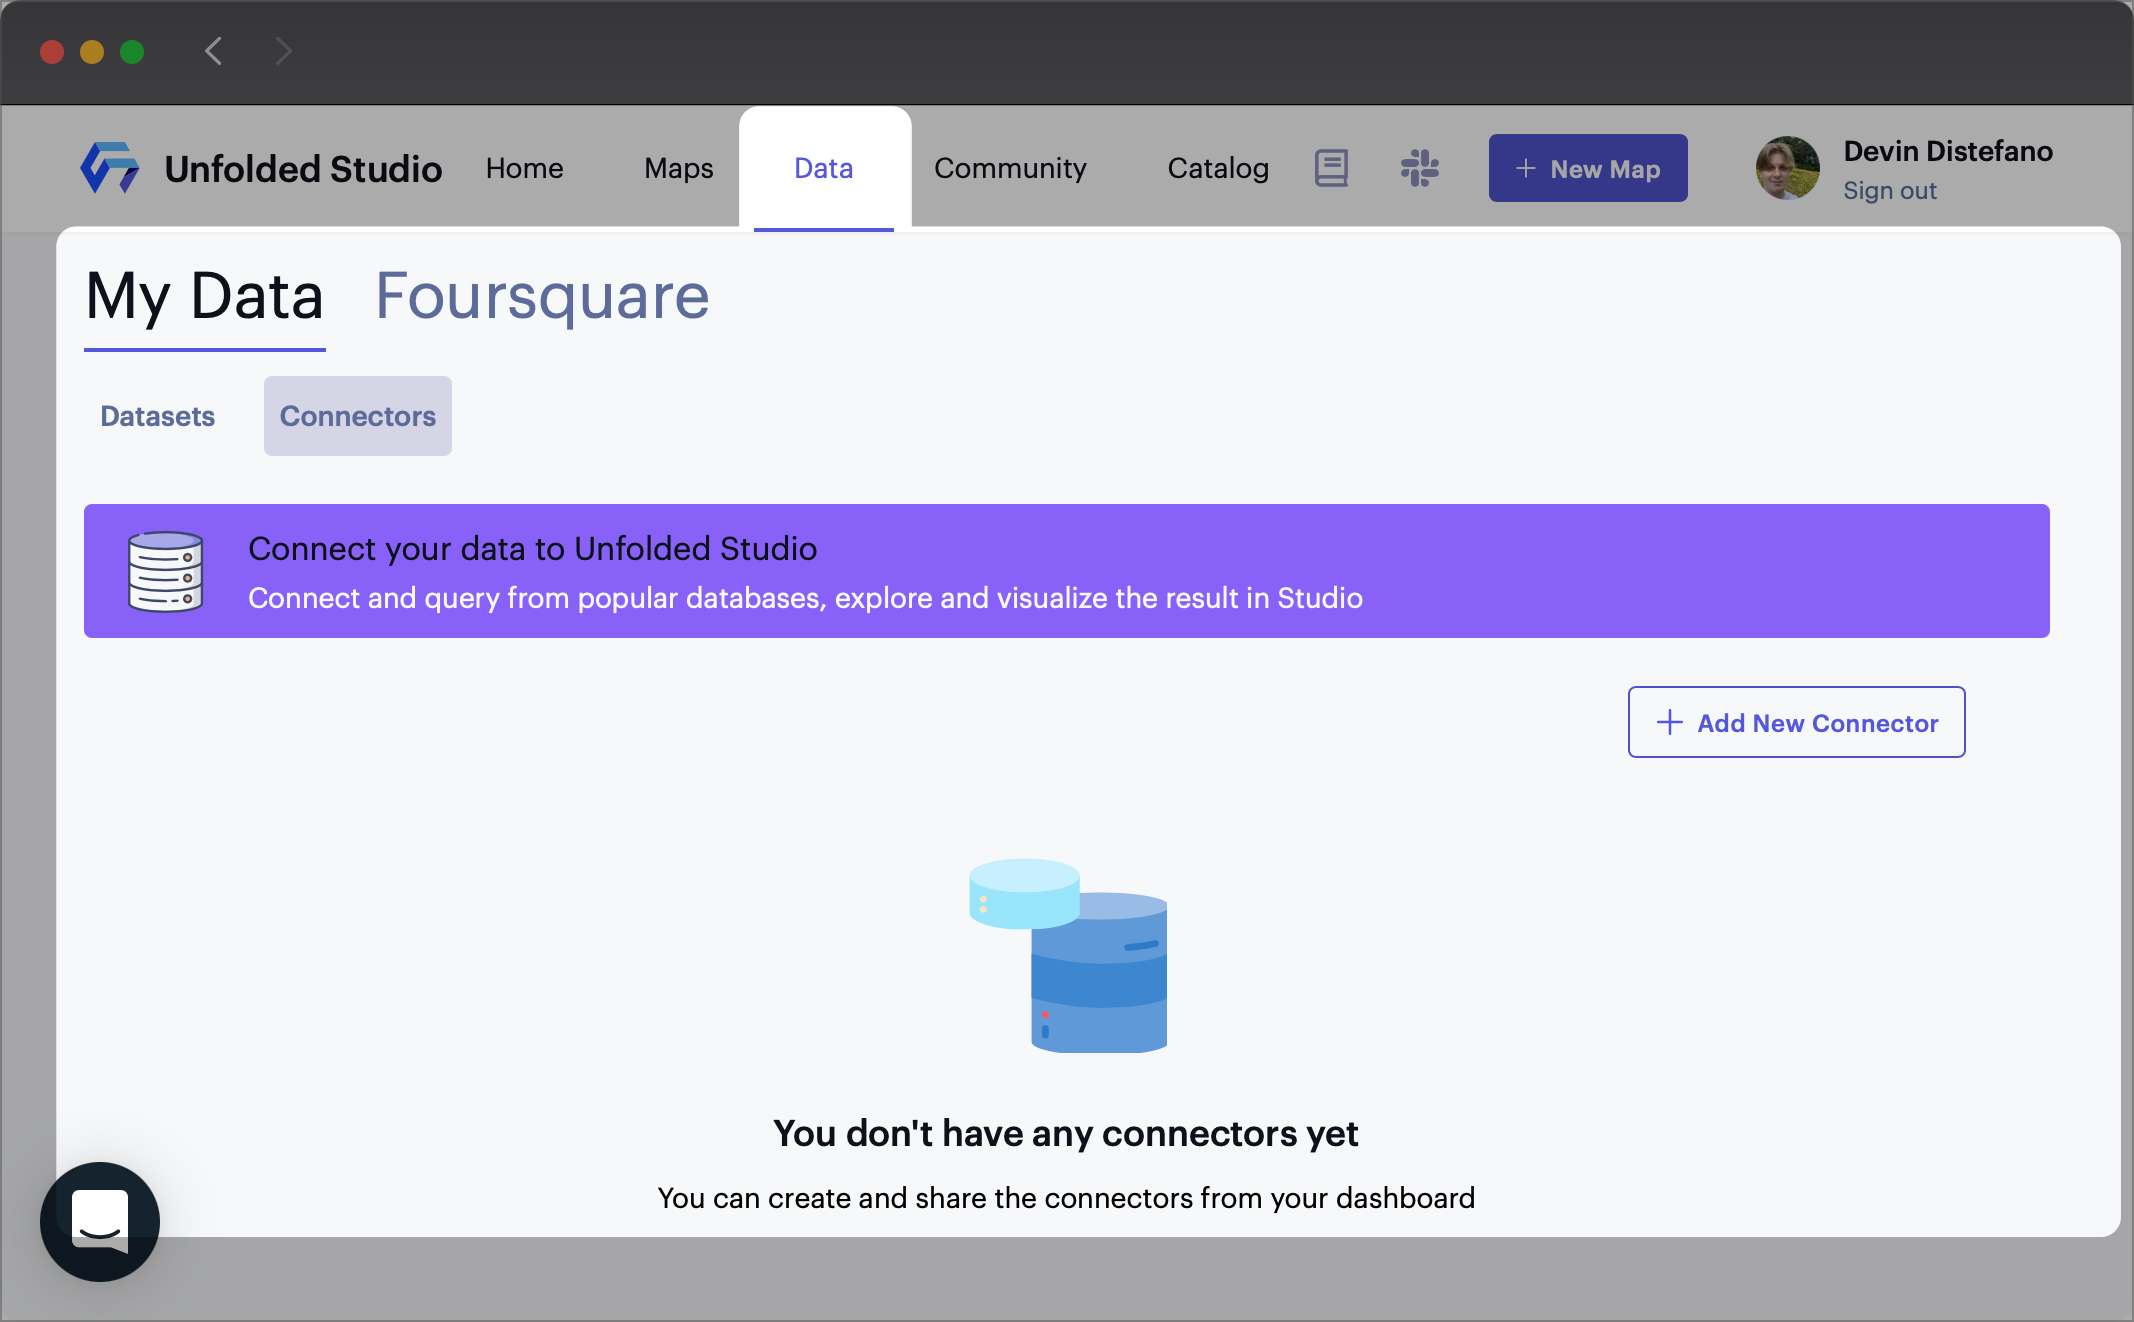
The Connectors page in the Data tab.
Whenever you add a new connector to your account, it will appear in this tab.
2. Click the Add a New Connector button, then select a supported data provider.
Upon selecting a data provider, a window will appear with a form. Fill the form then select Confirm to add the new connector.
3. Test the connection using the Test Connection button.
This button attempts to communicate with your database, returning a success message if Studio was permitted to connect to your data provider. If there is a problem with your connection, an error message detailing the failure is relayed from your data provider.
Add a Connector in Studio
You may also add a new data connector while in Studio. Click Add Data to Map > Add New Connector > Query.
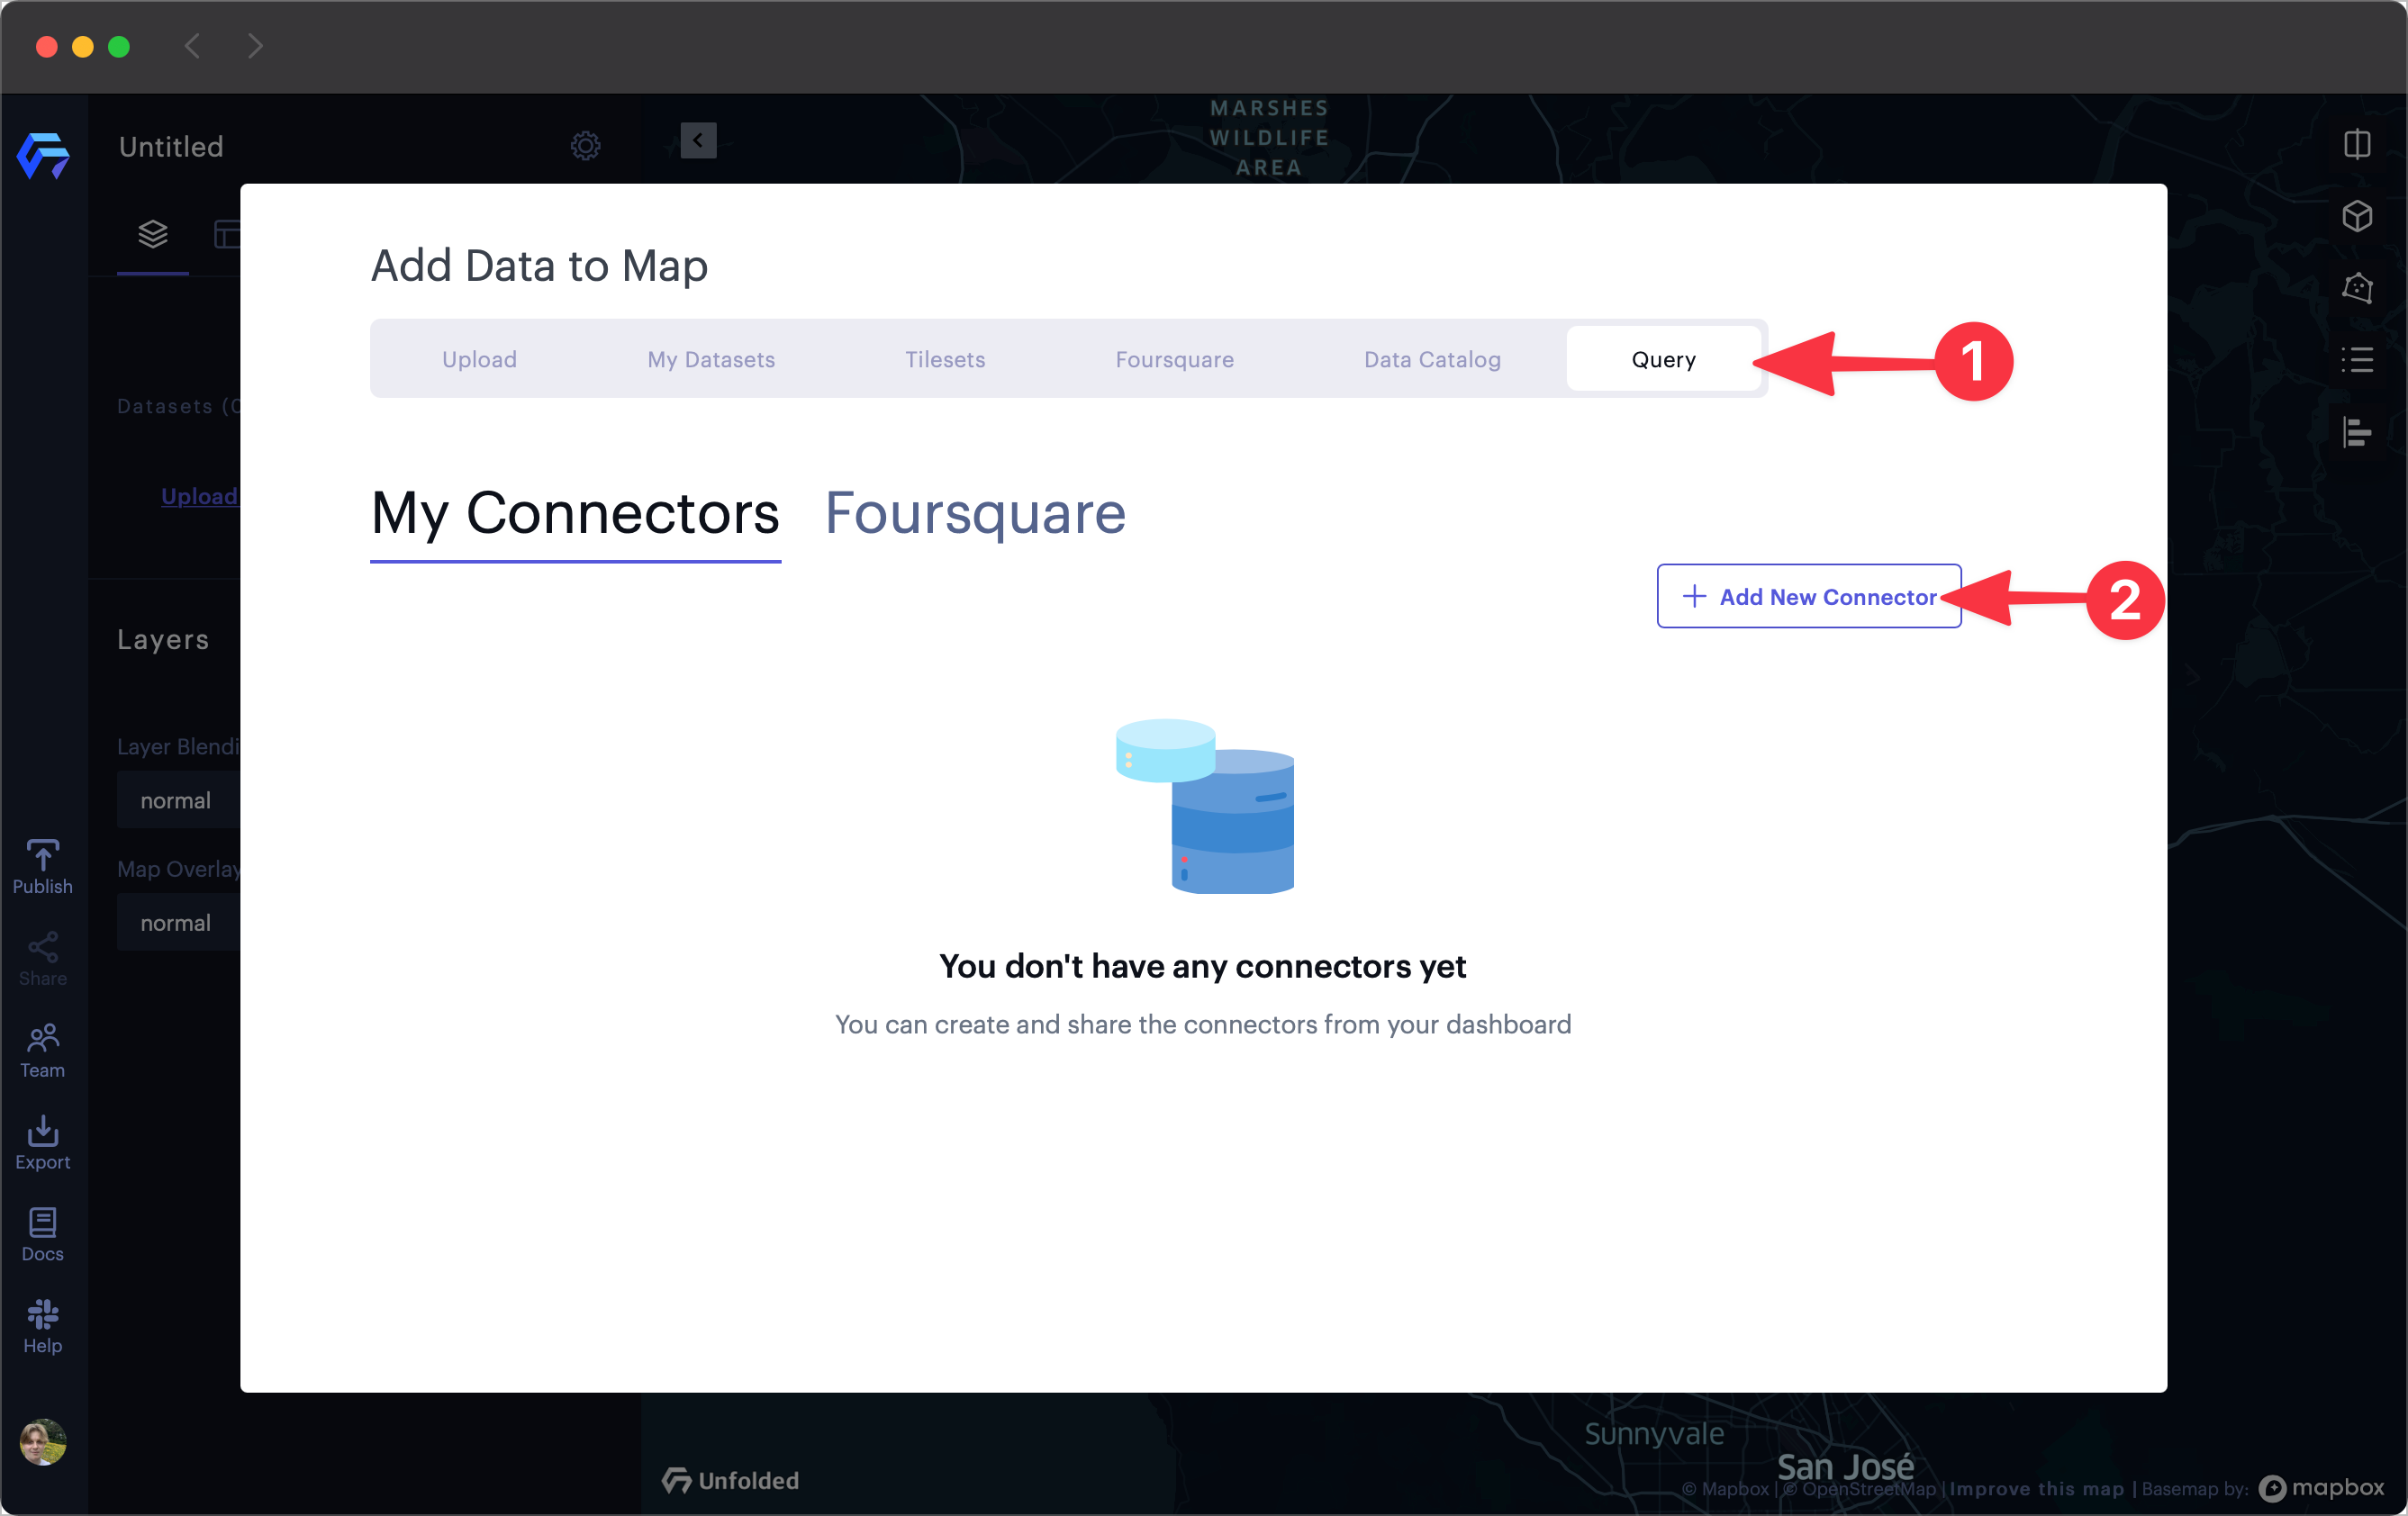
The Connectors page in Studio.
Specific Connector Information
Available data connectors include:
- Snowflake,
- BigQuery,
- Amazon Athena
- PostgreSQL,
- PrestoDB,
- Planet NICFI,
- Amazon S3, and
- Amazon Redshift.
Note: A Planet NICFI connector requires an alternative configuration. Please visit the Planet NICFI documentation page to learn more.
Use a Data Connector
Once you have a correctly configured Data Connector, you can start making queries to your remote database.
1. Click Add Data to Map, then click Query.
The query window will open. Use the dropdown to select database or data warehouse to perform queries against.
2. Enter a SQL query in the Connectors Query Window, click Run.
You can search and fill schemas in the query window. Enter a parameter in the search box then hover over any schema then click the Insert button to quickly fill the appropriate text.
You may also click the History button to show previously executed queries. Click a query to insert it into the editor.
If your query starts to get messy, click Format SQL to beautify all SQL code.
3. A preview of the data retrieved with the SQL query will appear. If you are satisfied with the results, click Add to Map.
The data retrieved from the data connector will appear in the Datasets tab in Studio. You may use this dataset in your visualization.
Edit a Query
You can edit an existing query used to retrieve data from a data connector.
1. In the Datasets tab, click ⋮ More Options on any dataset added via connector, then click Edit Query.
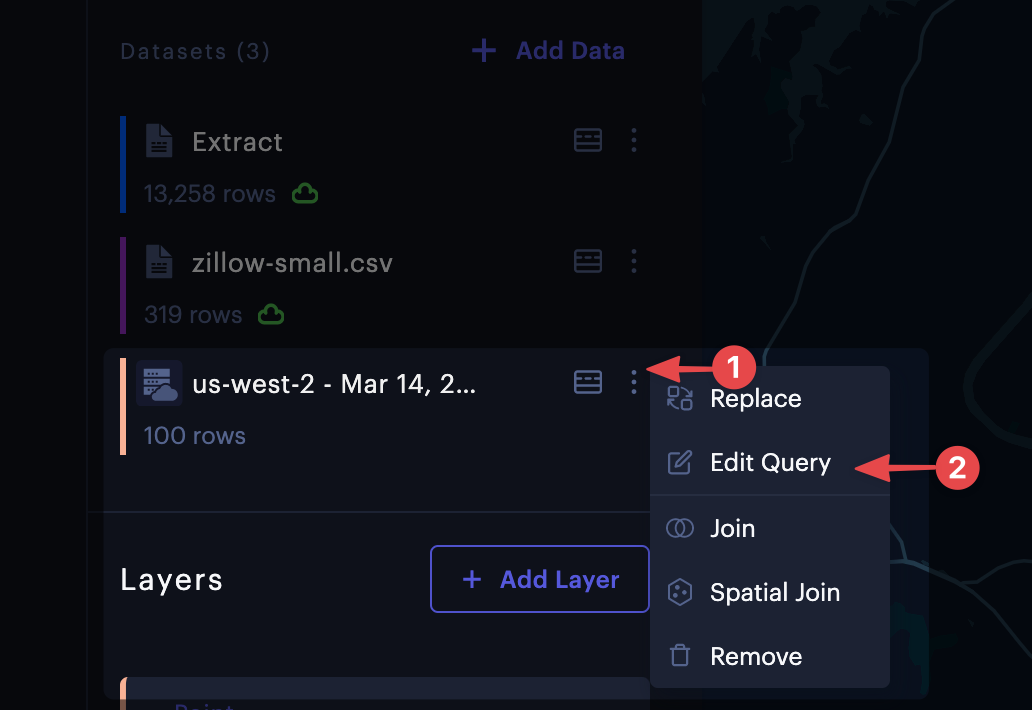
Edit data connector query.
2. The query window will open containing the original query used to retrieve the dataset. Edit this query, then click Run.
3. A preview of the data retrieved with the SQL query will appear. If it looks good, click Add Data to Map.
Updated 4 months ago