
Snowflake
You can connect the Studio platform to Snowflake using the Snowflake Connector.
For more information, please refer to the data connector user guide.
Configuring a Snowflake Connector
When adding a Snowflake Data Connector you will be presented with a form enabling you to configure your connector.
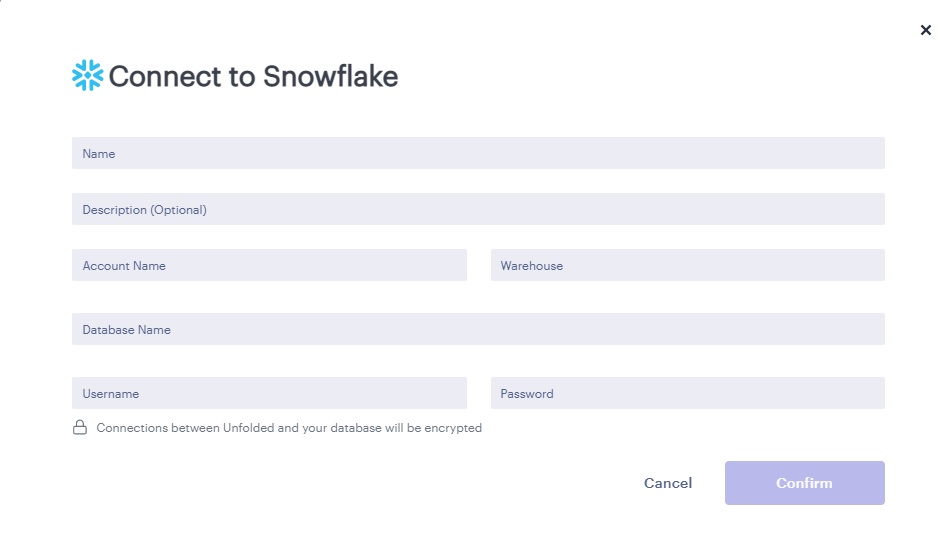
Snowflake Connector Form
To create Snowflake Connector next field inside Snowflake form should be populated:
- Name - enter arbitrary name for your data connector.
- Description (Optional) - enter arbitrary description for your data connector.
- Account Name - The name assigned to your account by Snowflake. In the hostname you received from Snowflake (after your account was provisioned), your account name is the full/entire string to the left of 'snowflakecomputing.com'.
- Warehouse - The warehouse you want to connect to.
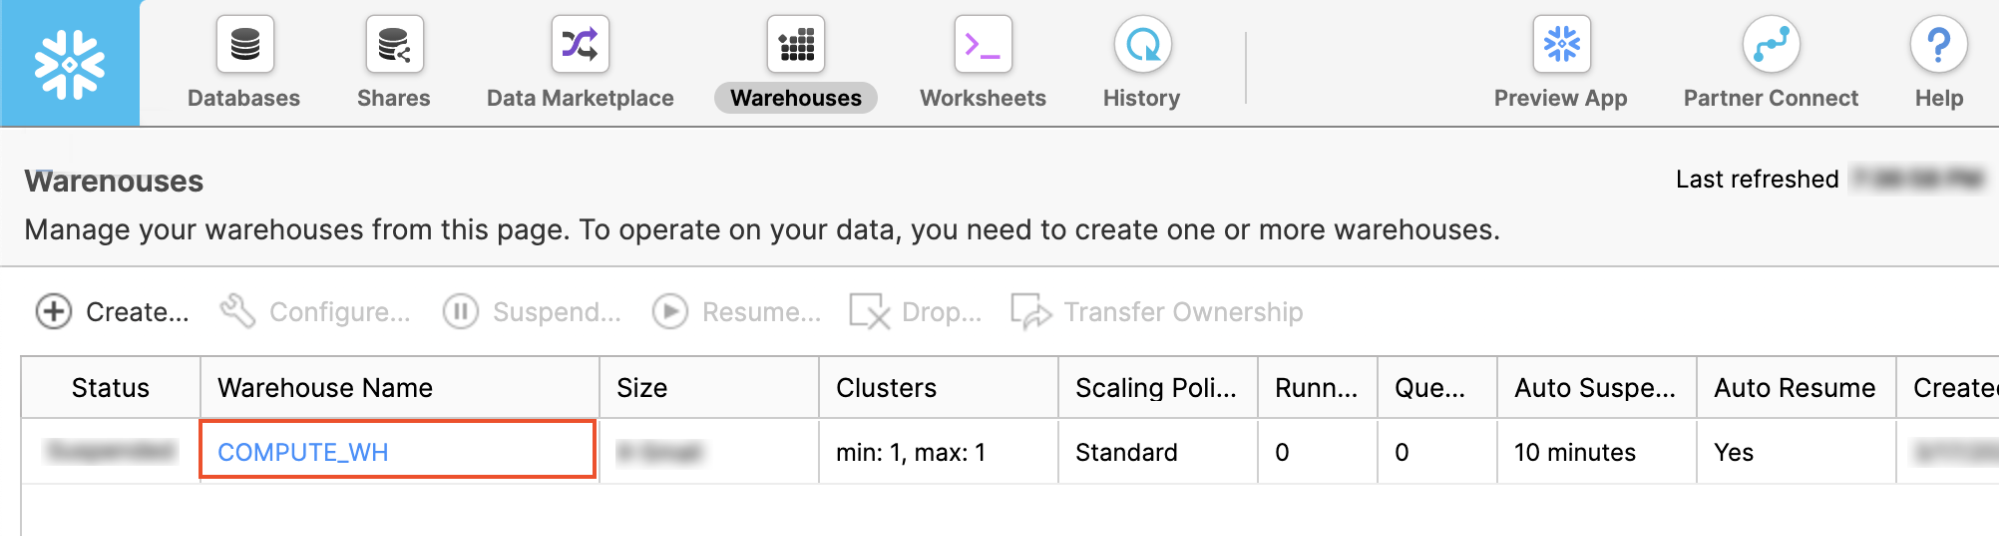
Snowflake Warehouse Name
- Database name - The database you want to connect to.
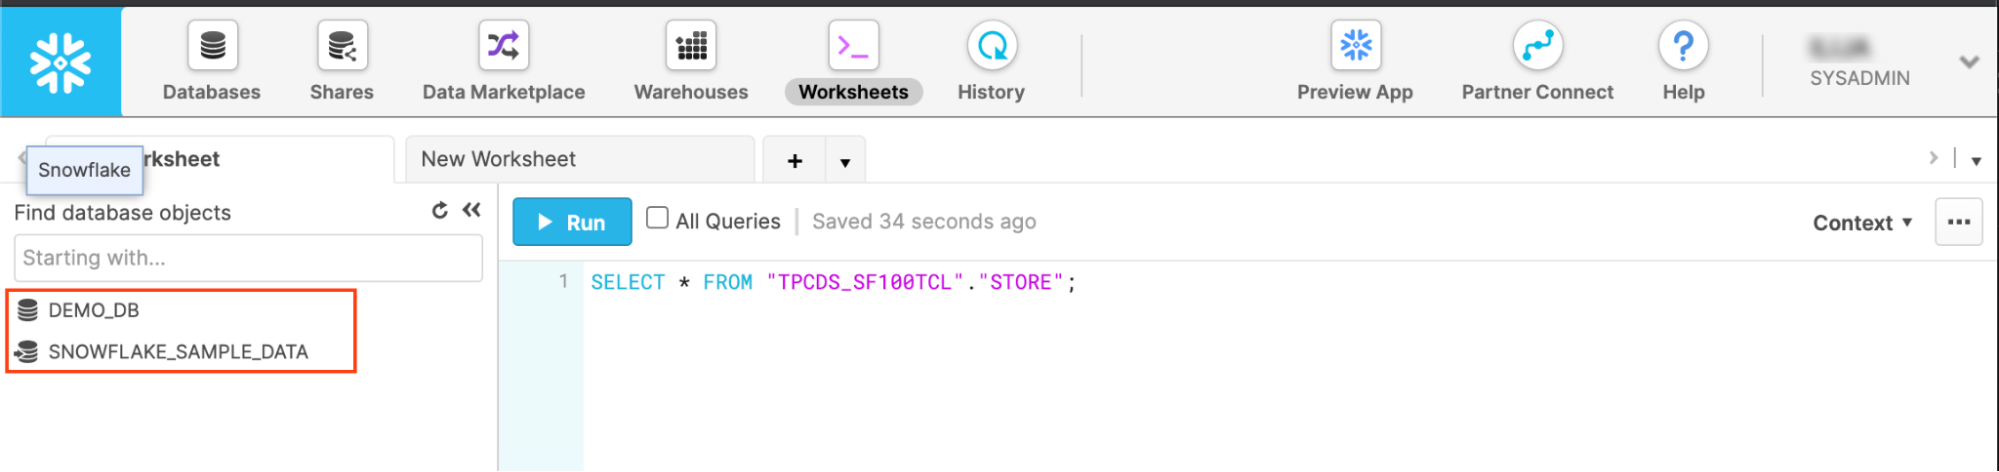
Snowflake Database Name
- User name - The login name for your Snowflake user.
- Authentication type - Choose between Password or Private Key as your preffered type of authentication.
- Password/Private Key - Depending on auth type you selected, a password for your user or private key file (in .p8 or .pem format) set for the user.
With the exception of the option Description field, all fields are required.
After all required fields are populated correctly, the Confirm button will be enabled.
Click on the Confirm button to create a new Snowflake connector.
Updated 4 months ago