
Planet
Planet NICFI Imagery
The Planet NICFI Program is an agreement between Norway’s International Climate & Forests Initiative (NICFI) and Planet Labs, to provide the public with free, high-resolution satellite imagery of the global tropics for environmental purposes. Planet NICFI connector exists to bring data from this program into Studio.
For more information, please refer to the data connector user guide.
Finding your Planet API Key
Before creating an Planet NICFI connector, you must have created an account and agreed to the terms and conditions at https://planet.com/nicfi/ and have an API key from Planet.
To find your Planet API key, follow these steps.
After logging in to your Planet account at https://www.planet.com/login/, open your profile at the top right corner and select My Account.
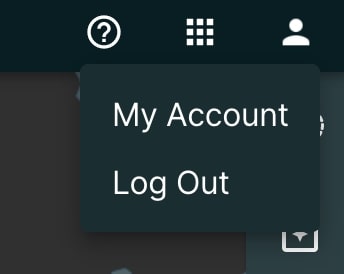
Planet Account
After clicking on My Account, it is required to enter credentials again. After entering valid credentials, a window with profile details will open. In profile details window click on the My Settings on the left side, and you will see API KEY field. Inside API KEY field is the text you need to provide under API Key when creating the Planet NICFI connector.
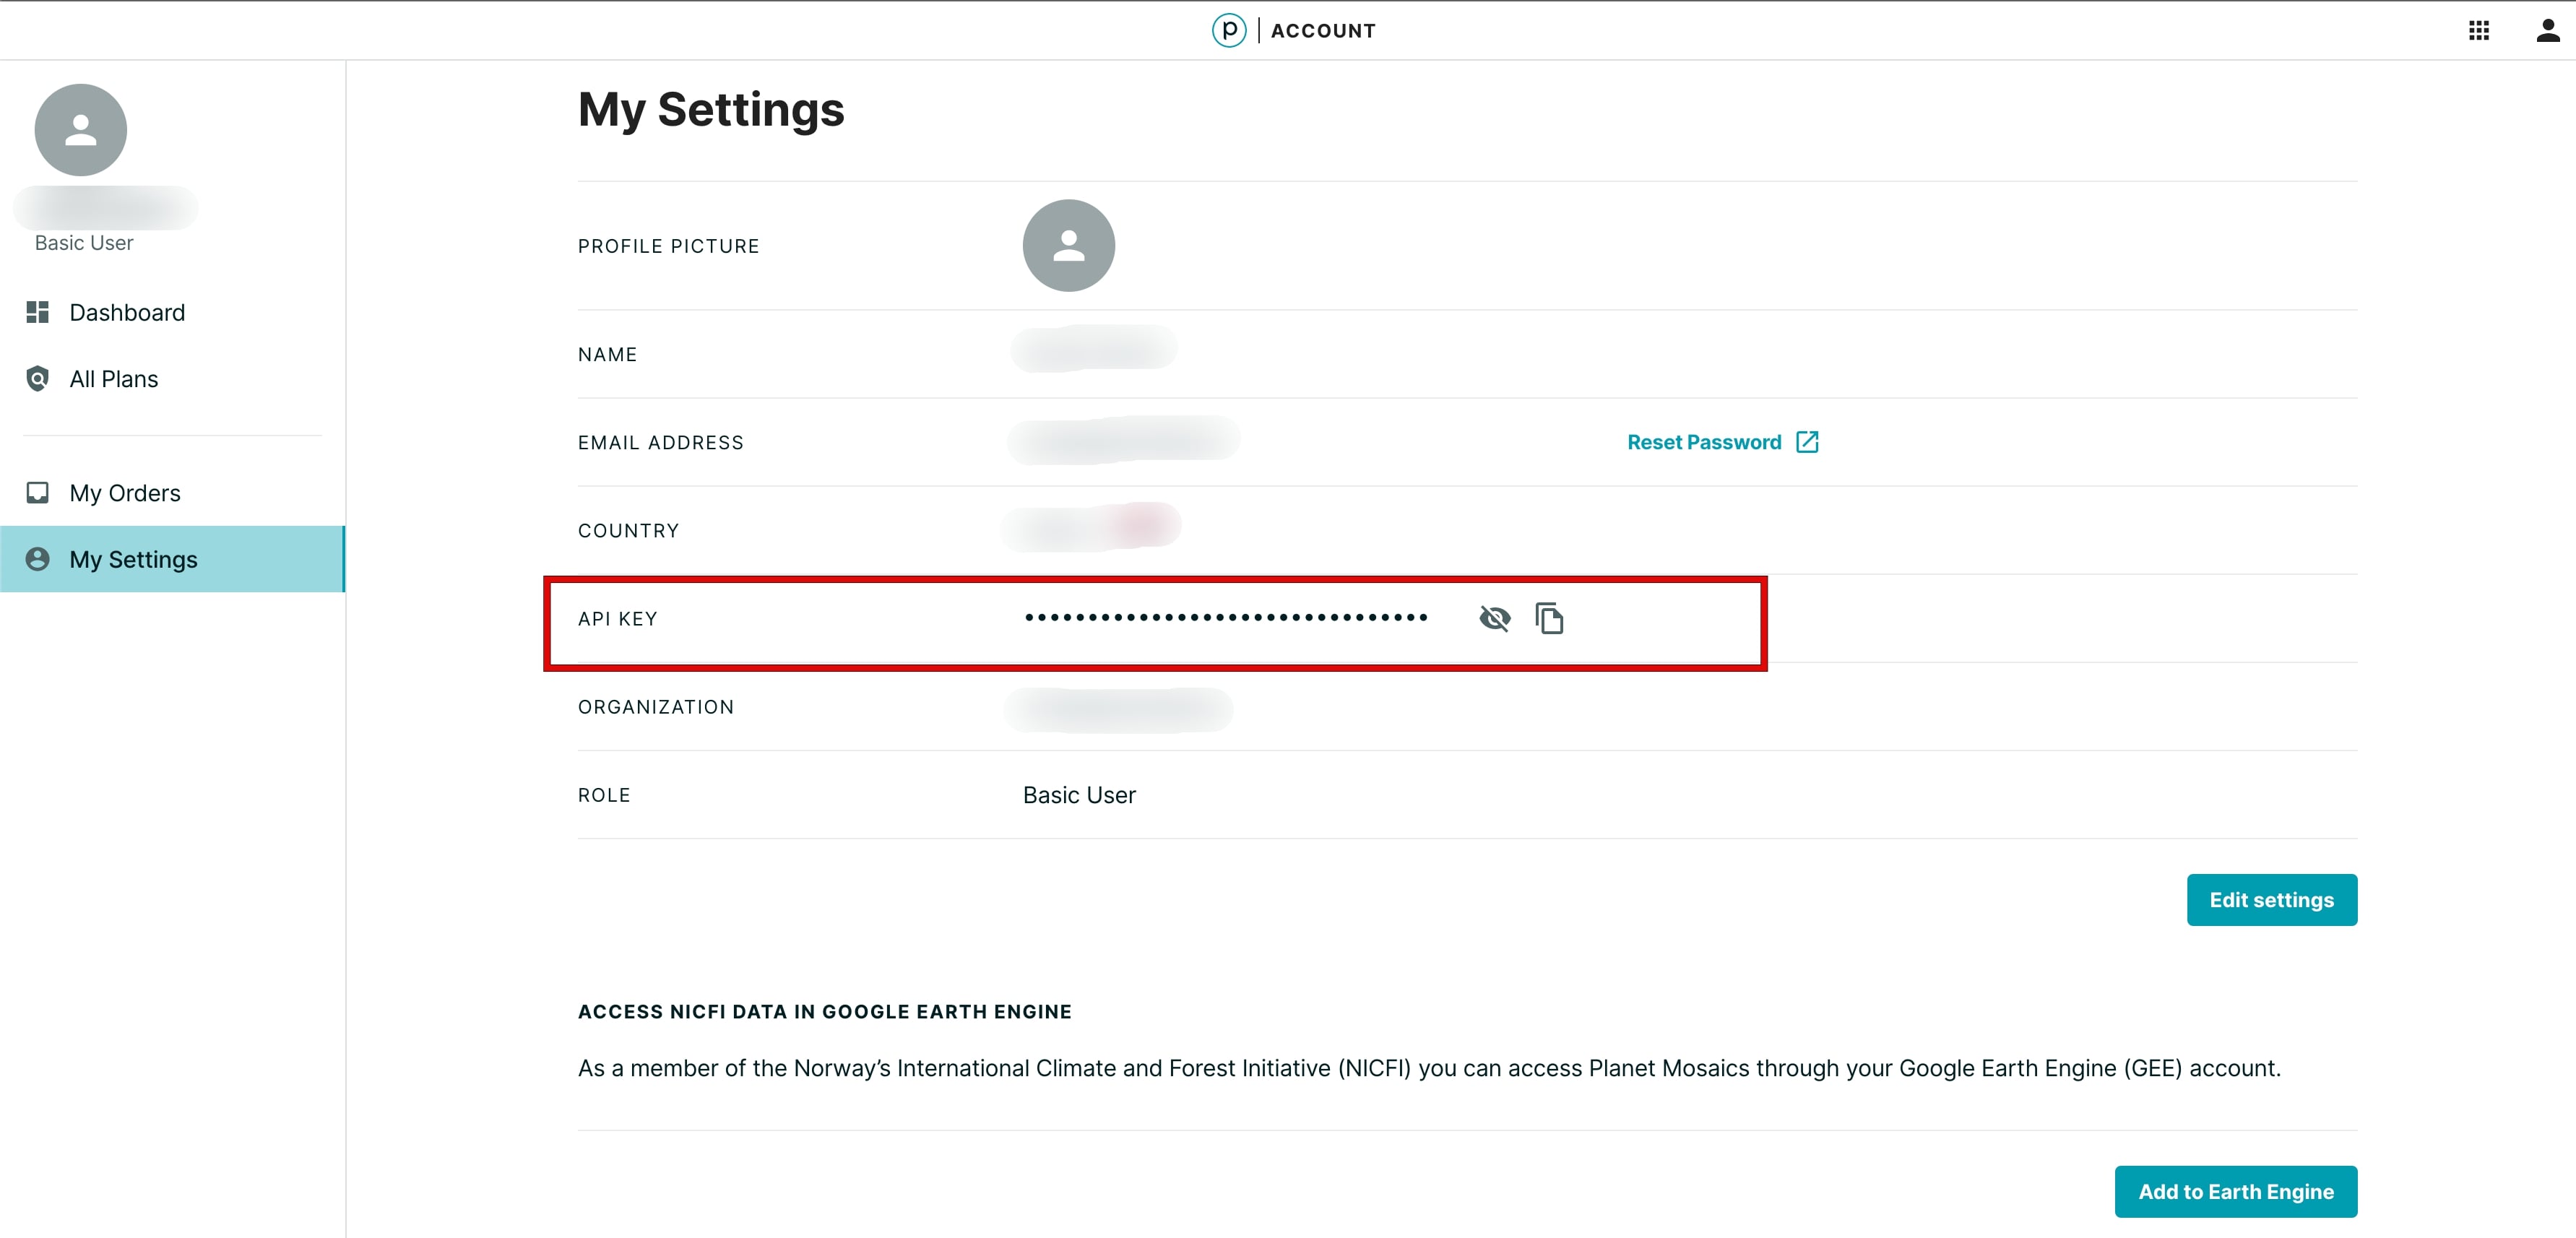
Planet API Key.
Copy your Planet API Key and hold on to it for creating the Studio connector, described below.
Configuring a Planet NICFI Connector
To create a connector, navigate to the Data tab, then click on Connectors. Then click on 'Add New Connector' and select 'Planet'. The below form will be shown.
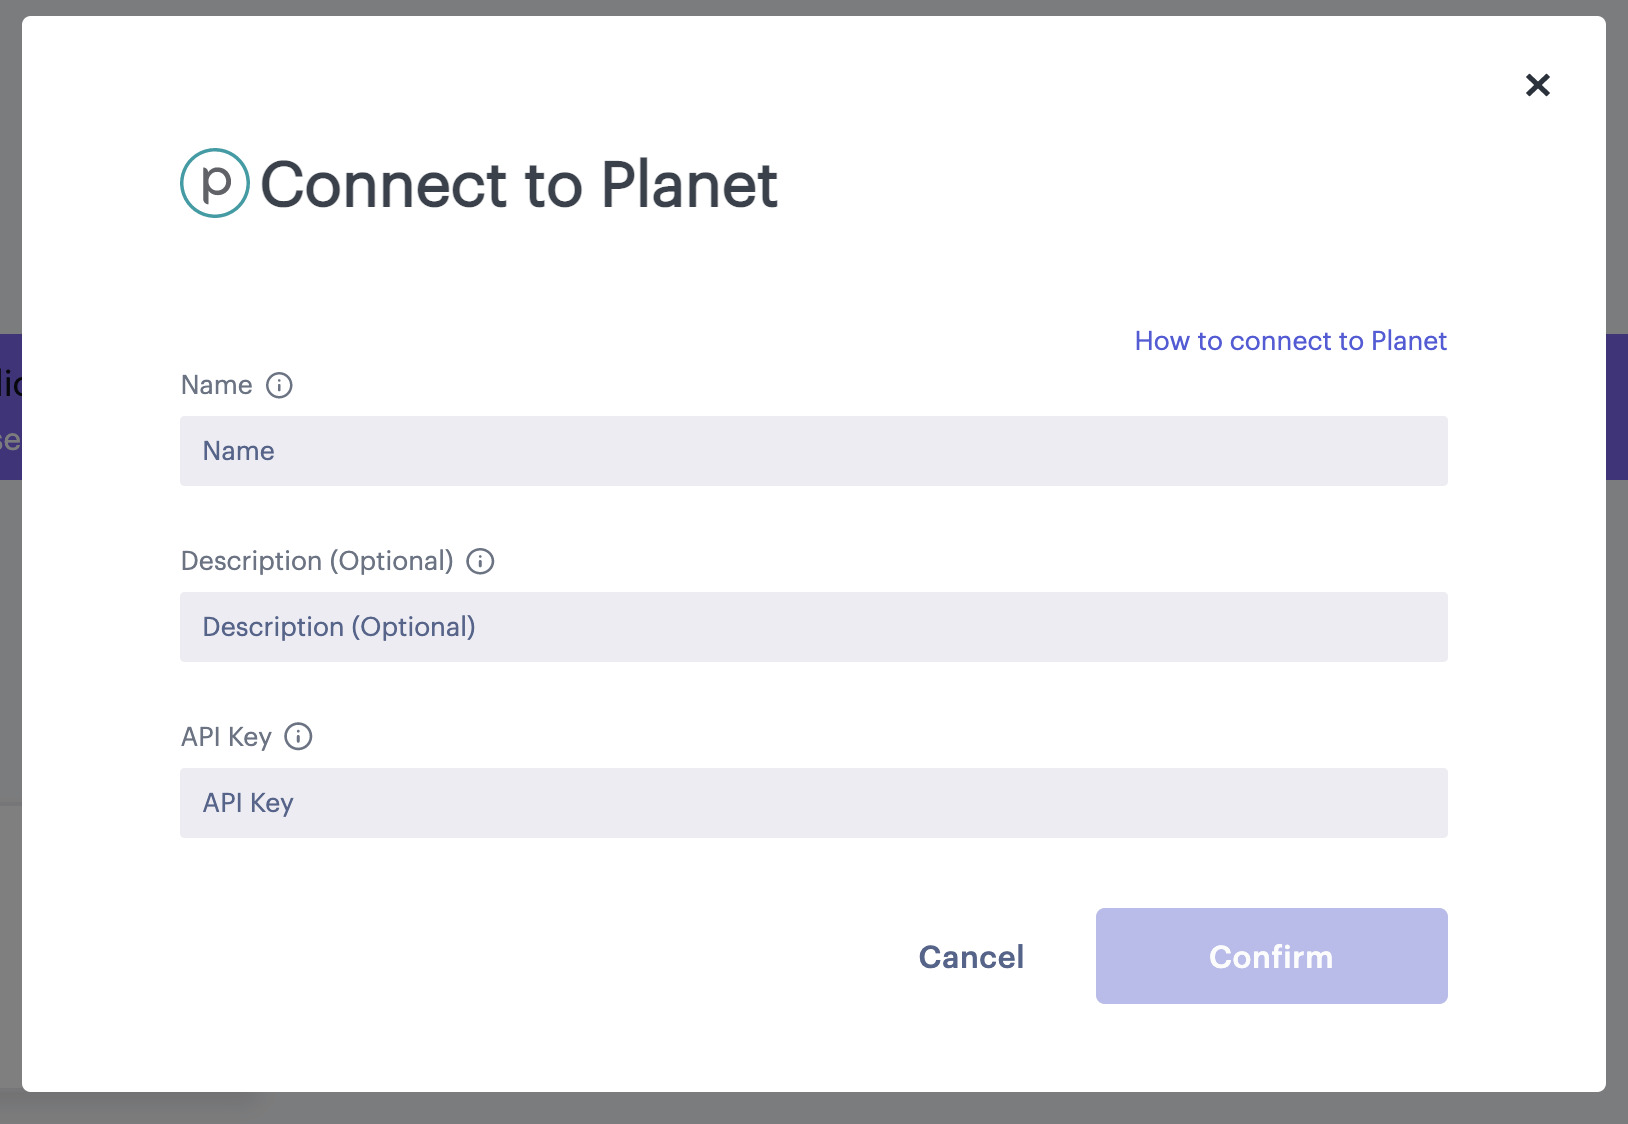
Planet Connector Form
Both 'Name' and 'API Key' are required. 'Name' can be any text, while the 'API Key' should be the text copied from Planet's website, as described above. The 'Description' field is optional. Then click on 'Confirm' to save this connector.
Adding Planet NICFI data to Studio
There are two ways to add Planet NICFI data to Studio:
- Open the 'Catalog' dashboard page. Then scroll down to the 'Remote Sensing' section and click on 'Planet NICFI'. Dataset details window with preview section will be opened. Click 'Create Map' and Planet Connector form will be opened. Any existing connector can be chosen from drop down menu, or new Planet Connector can be created. After a connector is selected, the map will be created.
- From an existing map, inside Studio, click 'Add Data' to bring up the 'Add Data to Map' dialog. Then click on the 'Data Catalog' tab, select 'Planet NICFI', and then under 'Select a Connector', select the name of the connector you saved in the previous section.

Adding Planet Connector data to Studio
After the map has loaded, Studio will now show Planet NICFI data and a new raster dataset will be saved in the 'My Dataset' page inside the Studio dashboard.
Updated 4 months ago