
Get Started
Using Studio, you can create powerful geospatial visualizations that you can share with the world.
The following sections provide a general overview, allowing you to dive in and create your first map.
Create a New Map
On the Studio Home Page, Add New Map.
Once you create your map, the Add Data to Map window appears. Upload your CSV, GeoJSON, or other supported file, then click Add Data.
Alternatively, you can use Studio's sample data in the Data Catalog tab. Studio's sample data gives you a great way to explore and get familiar with the platform's features.
Learn more about adding data to the map.
Explore Layers
Layers are data visualizations that can stacked on top of one another. To view layer options, open the Layers tab.
If you are new to Studio, play around with the different settings for each type of layer. Layers of the same type can differ greatly in appearance depending on how you configure them, opening up new possibilities for data analysis.
Learn more about adding data layers.
Add Filters
To create a new filter, open the Filter tab and click Add Filter.
Using filters, you control what data is displayed. All filters must be based on columns in your dataset, are applied across all layers, and cannot be toggled off.
Learn more about adding filters to your map.
Customize Map Settings
To view and change your map's settings, use the Interactions and Base Map tabs.
Studio allows you to customize your map's presentation, greatly impacting the way your map looks and the metrics it displays. You can customize many elements, including tooltips, brush highlighting, base map style, map imagery toggles, and more.
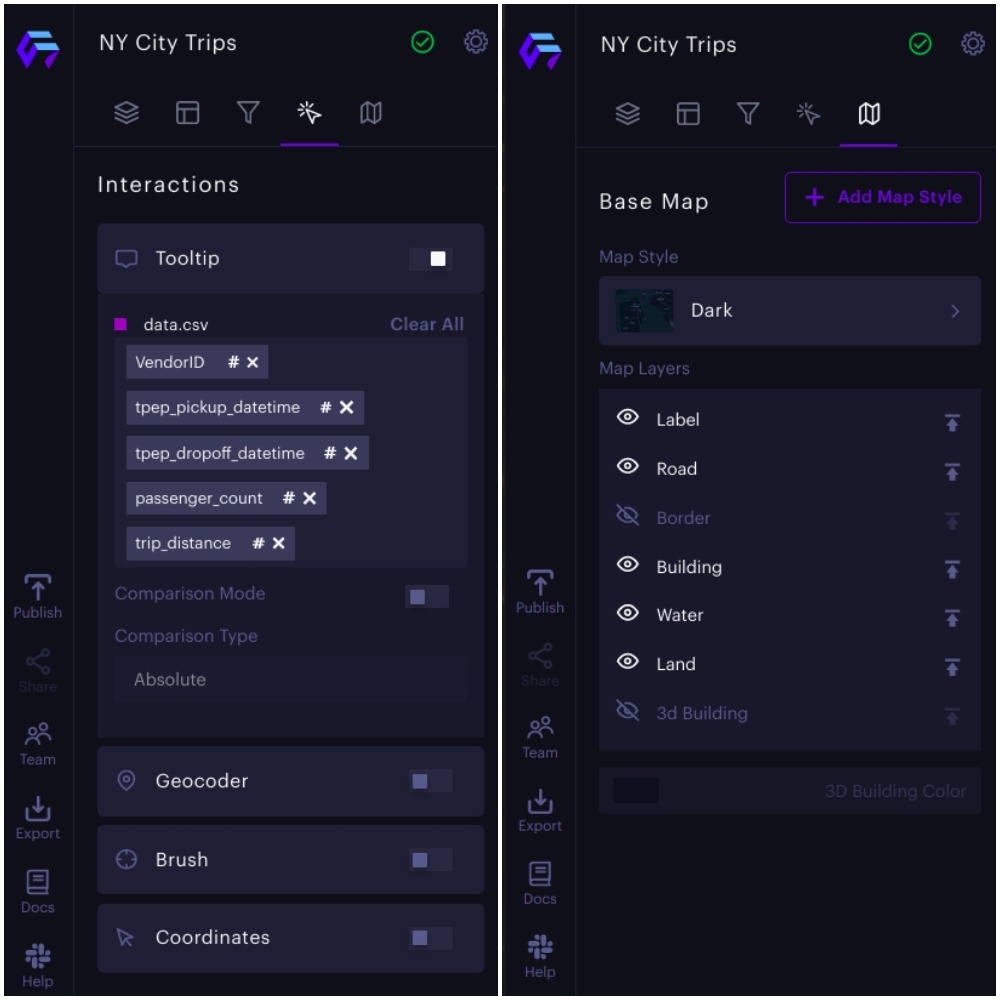
The Interactions and Base Map tabs.
Learn more about base map styles, interactions, and map settings.
Export
When you are ready to export your map, open the Export menu. Here, you can:
- Configure and produce a high-quality image.
- Customize and download a data set.
- Export the map configuration as a JSON file, which you can load back into Studio.
- Generate a video of your map, showcasing animations of time or trips.
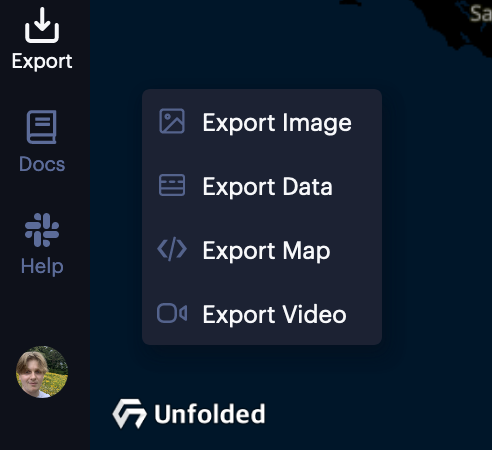
The Export menu.
Learn more about how to export your map.
Publish
When you are finished designing your map, open the Publish window.
Publishing creates a snapshot of your current map that is accessible to anyone with the published map's URL. Changes made to the map will not be reflected in the published map until you publish it again.
Once you have published the map, you can share it via URL, embed it in your website, or share it to social media.
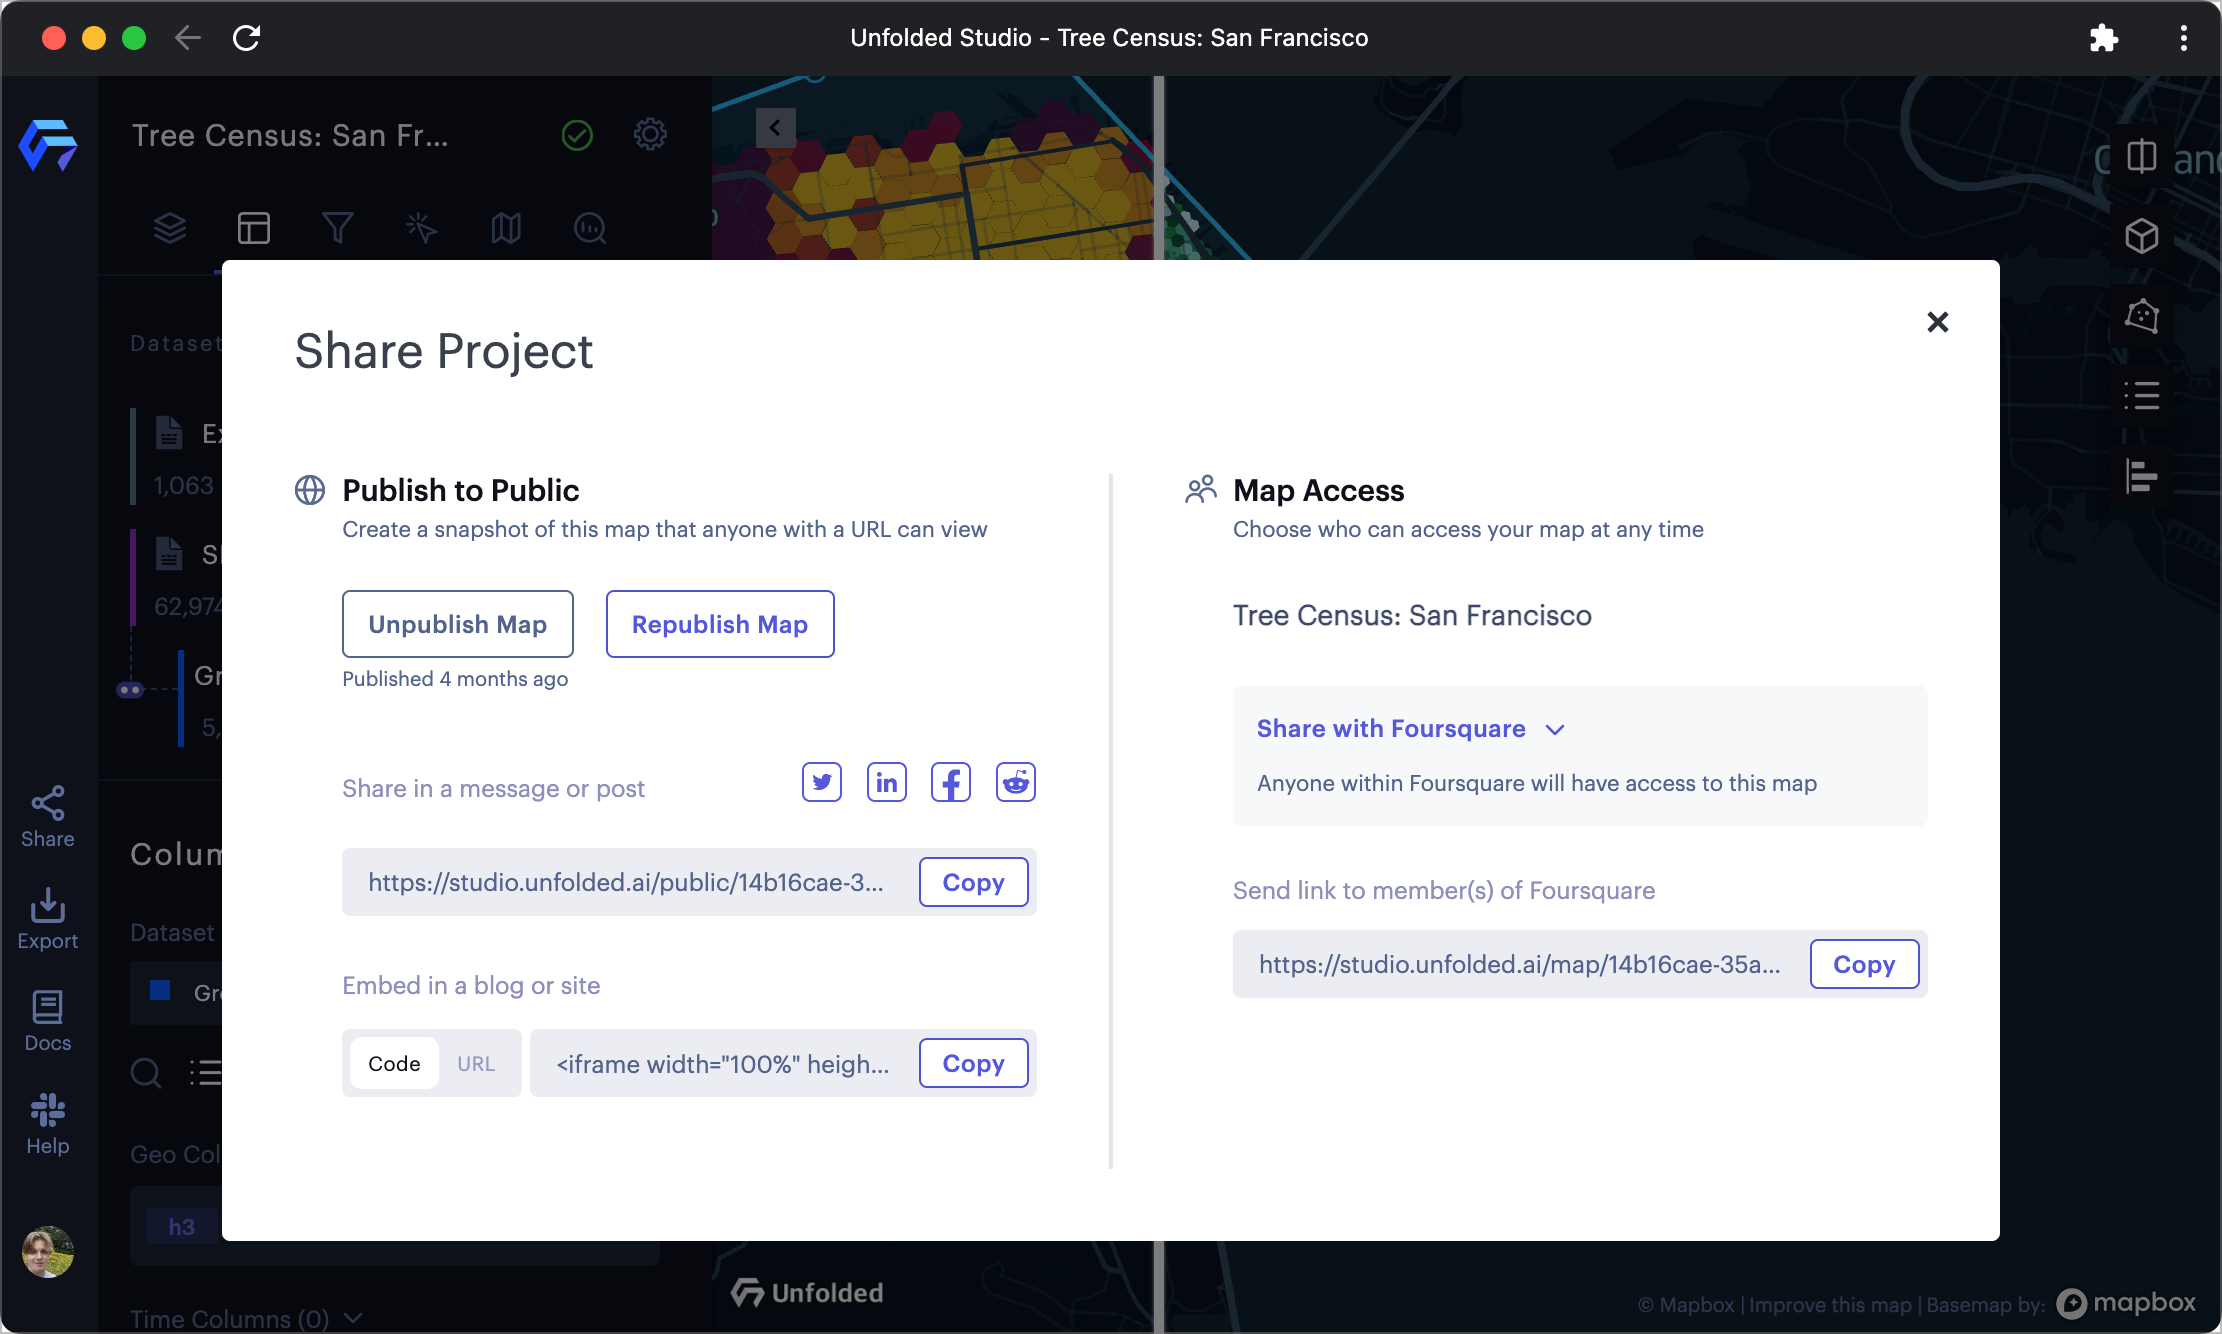
The share project window.
Learn more about how to publish your map.
Additional Resources
Congratulations, you created your first Studio map!
For more inspiration and guidance, check out the following resources:
Updated 3 months ago