
Publish
You can publish your project, creating a snapshot of your map accessible to anyone with a link. A published map is a saved state of the map at the time of publication, which does not update as you make changes.
Follow these instructions to publish your map:
1. Click the Share button to start the publishing process.
After clicking on the Share button, the Share Map window will appear. Click Publish.
Note: Map access/map sharing is an enterprise feature that allows you to provide map access to Studio accounts, including members of your enterprise team.
2. Click Publish Map to open the Publish window
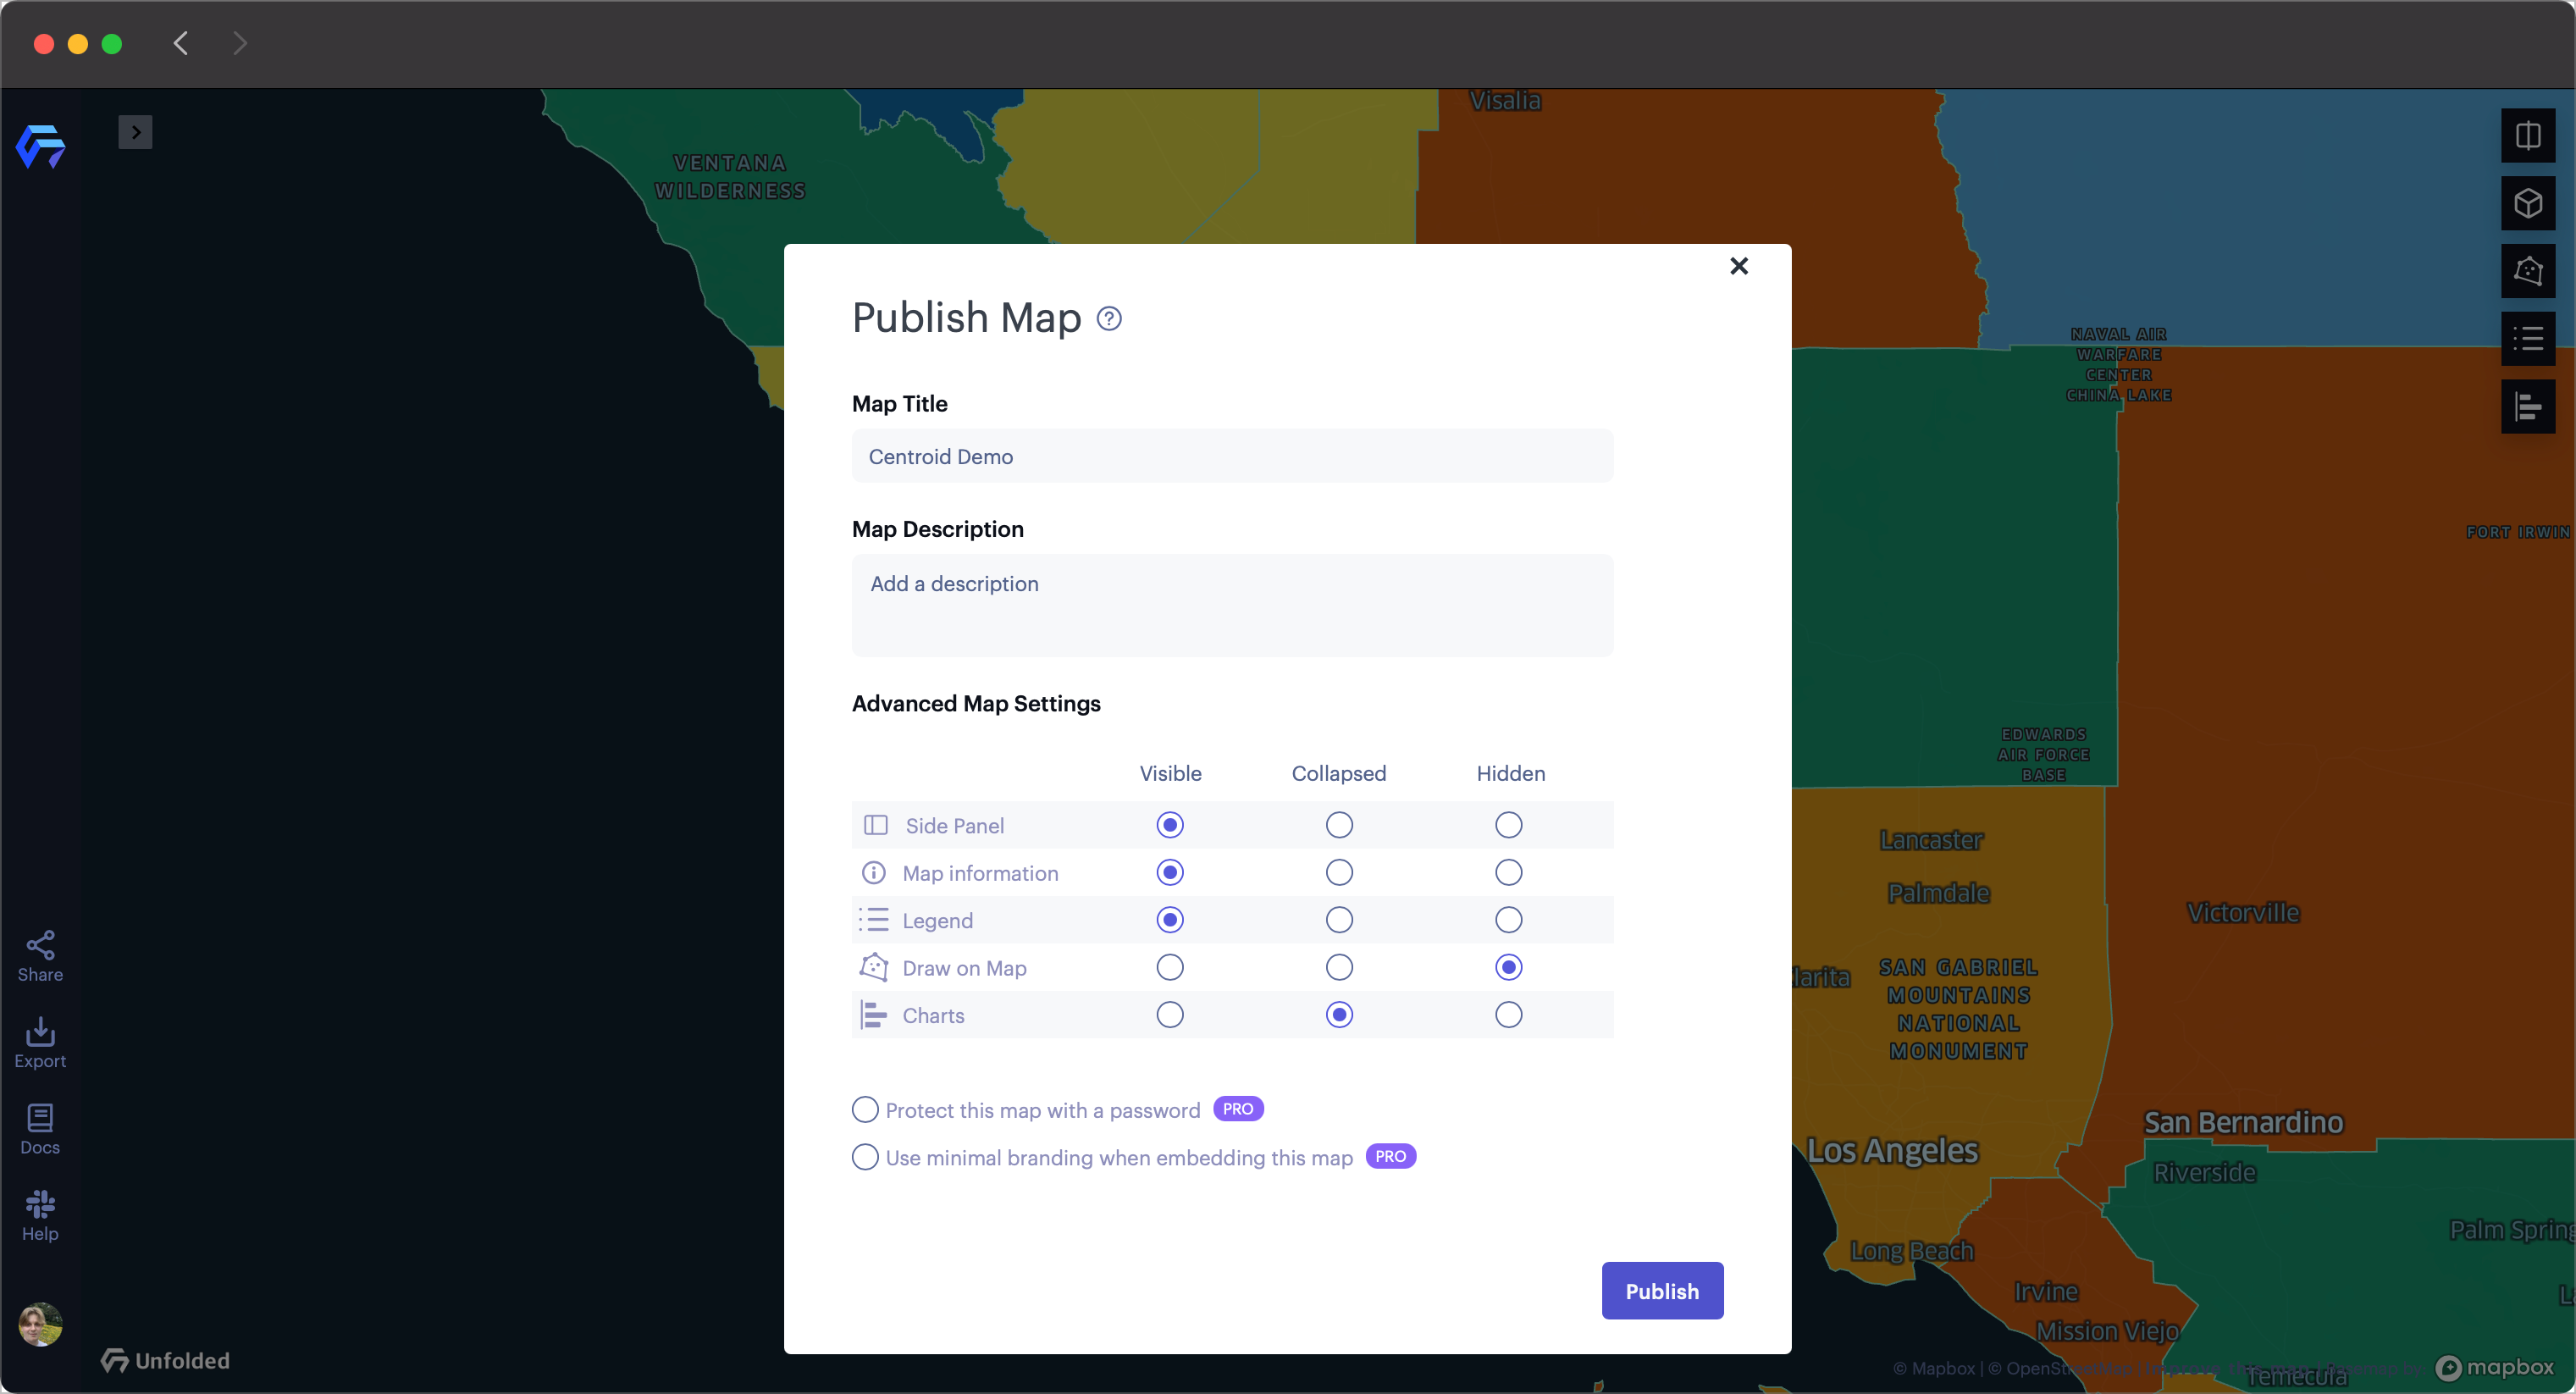
The Publish window with default settings.
3. Set any advanced options, then click Publish.
Sharing Options
Upon completion, a dialog will appear with the message "Your map has been published!" alongside several sharing options.
A published map can be:
- Shared with a link.
- Shared online via social media.
- Embed in your blog or website via URL or code snippet.
Return to the Share Project window any time to retrieve the sharable links for the published map.
Republish
As publishing creates a static snapshot of your map at the time of publication, you must republish your map to share the newest version of your product.
To republish your map:
1. Click the Share button.
2. Click Republish Map.
Unpublish
A published map is only accessible to those with a link; however, you may unpublish your map at any time, removing the snapshot of your project from the internet.
To unpublish your map:
1. Click the Share button.
2. Click Unpublish Map.
Note: This will not effect any content on your map nor its data, and will only remove the snapshot. You may republish the map at any time.
Advanced Options
The default publishing options provide users with a standard experience in Studio. However, the Publish window contains advanced options for the presentation of your published map.
Password Protection
Enterprise accounts may protect published maps with a password. Others users may open a published map only if they provide the password.
Click Protect this map with a password, then type a password in the provided field.
Note: Keep track of your password. For your security, Studio does not store your password. If you forget the password, publish the map again with a new one.
Minimize Studio Branding
Enterprise accounts can minimize branding during a published map's load and display. Only a single "Powered by Studio" logo will appear.
In the Publish Map dialog, click Use minimal branding when embedding this map to minimize branding.
Allow Data Export
Enterprise accounts can allow the export of data from their projects. This not only allows users to export data originally imported into Studio, but also any data generated within the platform.
In the Publish Map dialog, click Allow Data Export.
Control Visibility Settings for Published Maps
The following settings allow the user to customize the visibility of controls for their published maps as part of the publish flow.
- Side panel: controls whether the side panel is visible (active), collapsed, or hidden.
- Map information: controls whether the name and description of the map are visible (active), collapsed, or hidden.
- Legend: controls whether the legend of the map is visible (active), collapsed, or hidden.
- Draw on map: controls whether the draw panel of the map is visible (active), collapsed, or hidden.
- Charts: controls whether the charts of the map are visible (active), collapsed, or hidden.
Publishing Quotas
Serving of maps published from free accounts may be throttled after a certain number of views is reached in order to cap costs. Modest usage should not be affected.
Maps that are published from Enterprise accounts have generous and flexible quotas.
If your expected volume of map views is very high, contact [email protected].
Updated 4 months ago