
SageMaker
![]()
The Map SDK can be used in Amazon SageMaker notebooks.
To access Jupyter Notebooks through Amazon SageMaker, navigate to the SageMaker dashboard, then click on Notebook instances in the left sidebar.
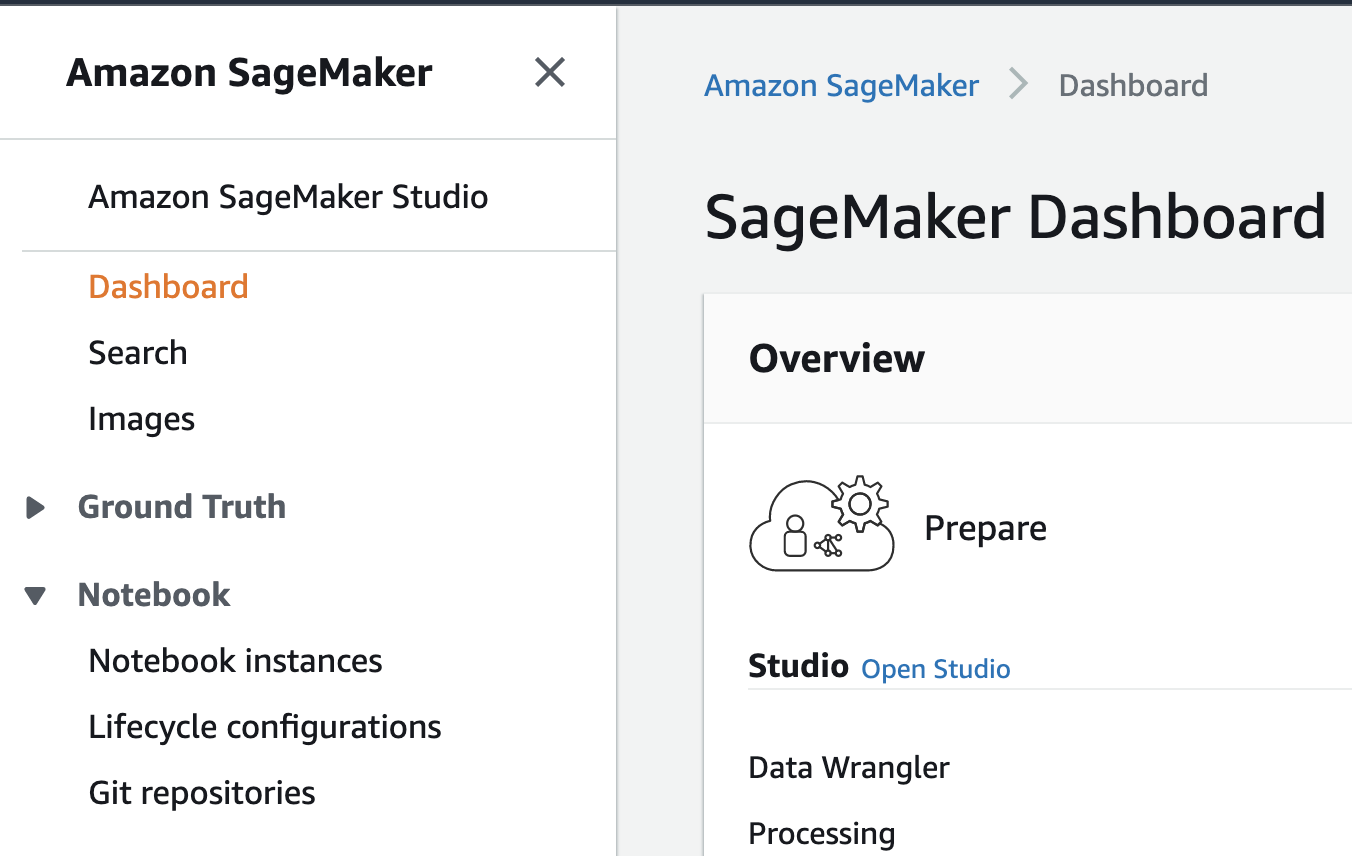
Click on Notebook Instances to access Jupyter Notebooks through SageMaker
Click Create Notebook Instance to set up a computational environment, then choose either Open Jupyter or Open JupyterLab (recommended) to start your Jupyter environment. Then follow the steps under Installation.

The installation methods differ depending on whether you chose a Jupyter or JupyterLab environment.
Jupyter (Jupyter Notebook) Installation
There are two steps are necessary:
- Install the Lab extension from a terminal environment. This installation only needs to be done once.
- Install the Python package into the Conda environment of your choice. This installation needs to be done once for each Conda environment you wish to use.
Installing the Notebook extension
First, to install the Notebook extension, we'll use the default environment to enable the package. From the Jupyter Notebook home screen, choose New > Terminal.
A terminal will appear. Inside the terminal run:
pip install foursquare.map-sdk
jupyter nbextension install --py --sys-prefix foursquare.map_sdk
jupyter nbextension enable --py --sys-prefix foursquare.map_sdk
Installing the Python package
Start by opening a notebook using a Python 3 environment. For example, choose conda_python3. In the first cell, use !pip to install foursquare.map-sdk again:
!pip install foursquare.map-sdk
Upon reloading, Studio maps will display in the notebook. Note that this pip install command only needs to be run once per Python environment. For example, the next time I create a notebook in the conda_pytorch_p36 environment I can run import foursquare.map-sdk without running !pip install again.
Jupyter Lab
To install the Map SDK in Jupyter Lab, two steps are necessary:
- Install the Lab extension from a terminal environment. This installation only needs to be done once.
- Install the Python package into the Conda environment of your choice. This installation needs to be done once for each Conda environment you wish to use.
Installing the Lab extension
From the JupyterLab home screen, select Terminal.
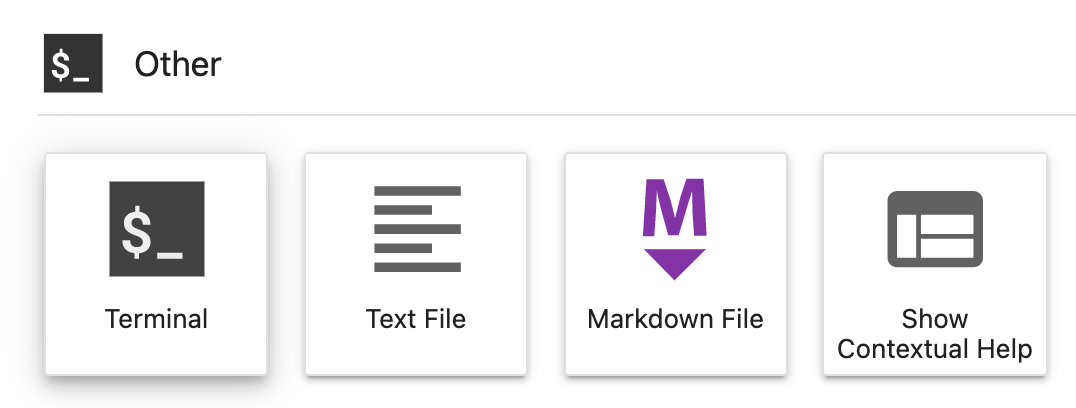
SageMaker new terminal.
Inside the terminal run:
pip install foursquare.map-sdk
jupyter labextension install @jupyter-widgets/jupyterlab-manager @foursquare/jupyter-map-sdk
Installing the Python package
Start by opening a notebook using a Python 3 environment. For example, choose conda_python3. In the first cell, use !pip to install foursquare.map-sdk again:
!pip install foursquare.map-sdk
After this pip install, you must reload the JupyterLab page in your browser.
Upon reloading, Studio maps will display in the notebook. Note that this pip install command only needs to be run once per Python environment. For example, the next time I create a notebook in the conda_pytorch_p36 environment I can run import foursquare.map-sdk without running !pip install again.
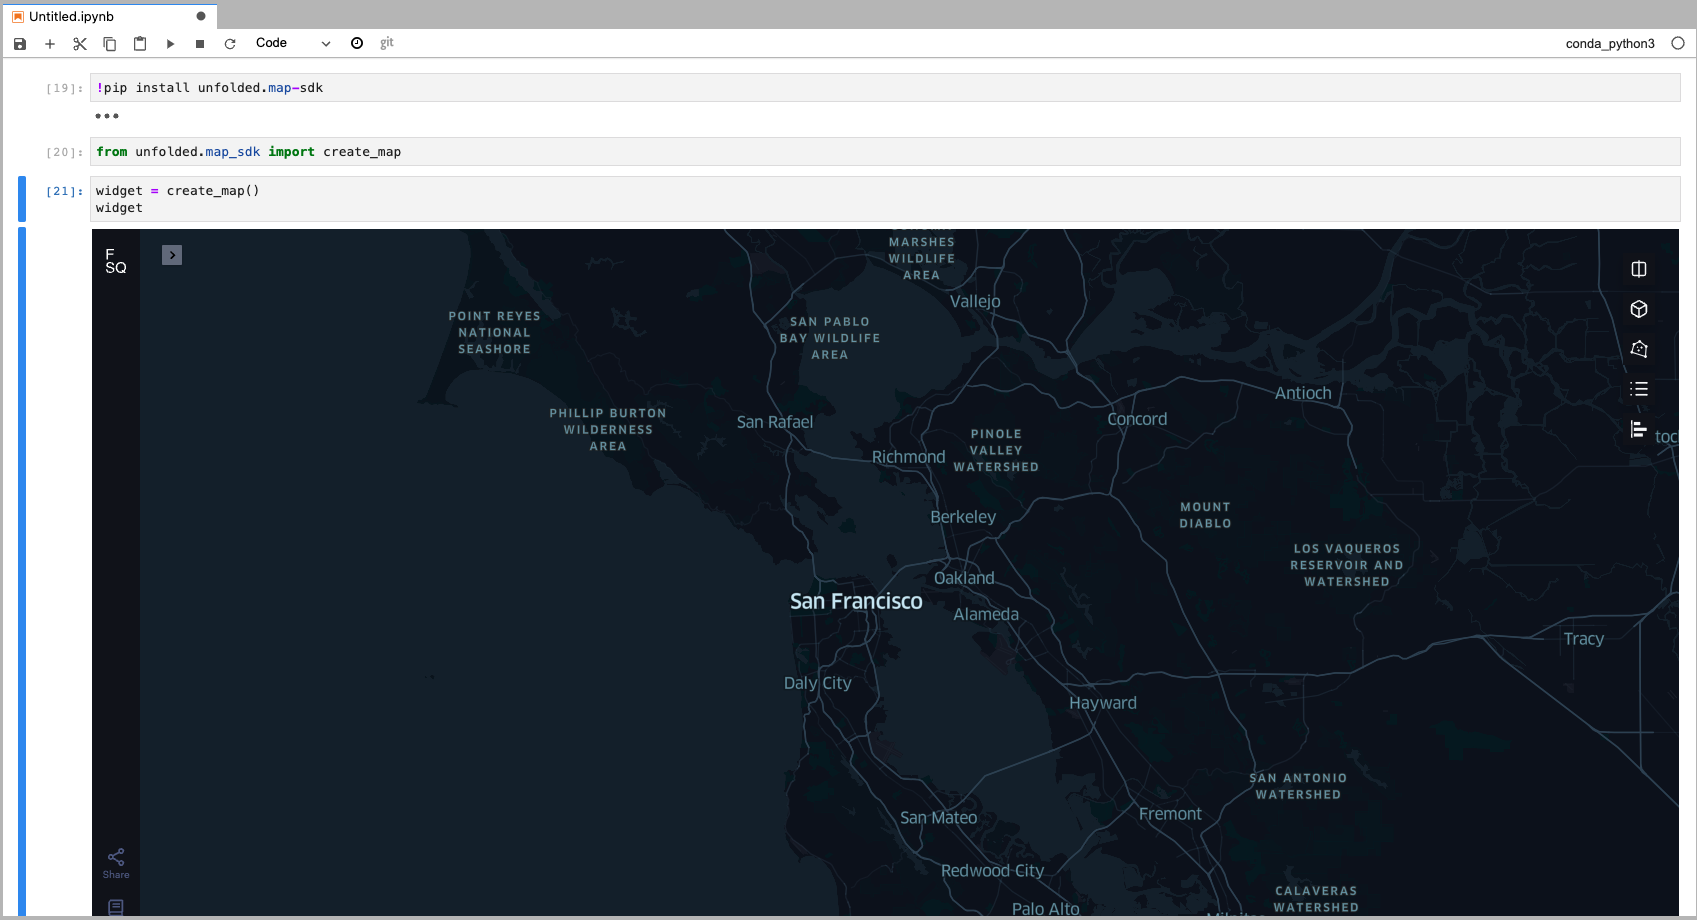
SageMaker rendering a map in Studio.
Updated about 12 hours ago