
Manage Geofences
Managing your geofences is made simple via the Developer Console. If you’re
interested in managing them programmatically, check out our Geofences API.
Create a Geofence
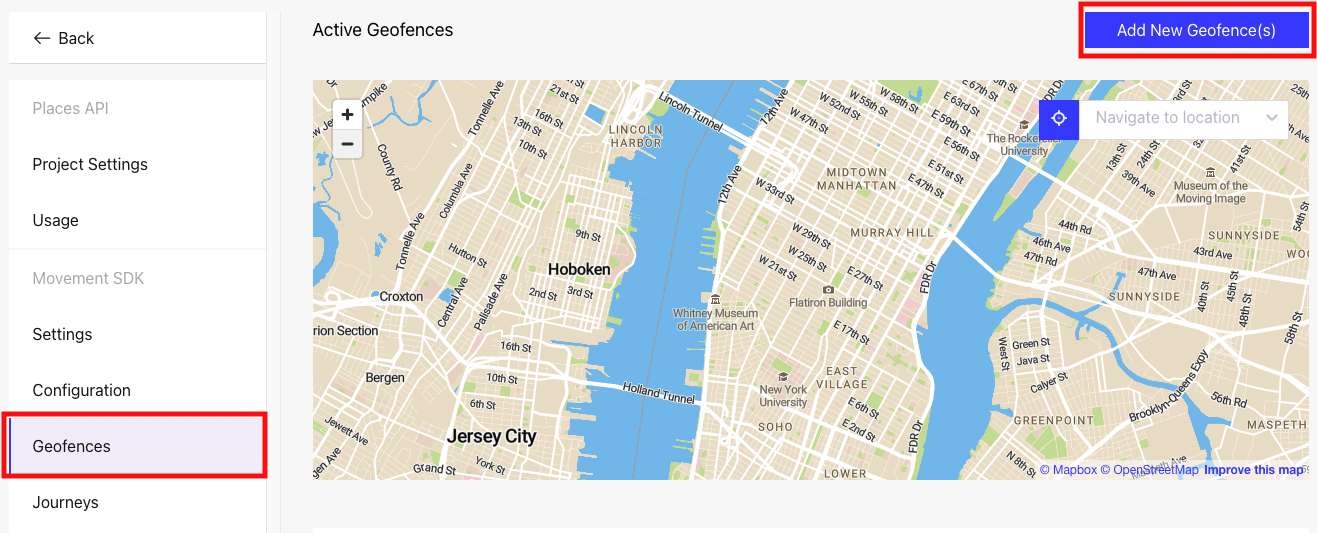
From the Geofences section in the Developer Console, click the Add New Geofence(s)
Button.
There are five types of geofences you can create:
-
Venue - a geofence around a specific venue (e.g Joe’s Pizza in NYC)
-
Chain - a geofence around a specific chain of venues (e.g Walmart)
-
Category - a geofence around a specific category of venues (e.g Thai Restaurants)
-
Circle - a circular geofence around a specific lat/lng pair
-
Polygon - a polygon geofence using lat/long pairs
Additional Properties
Additional properties allow you to add custom metadata to each geofence event, where the additional properties will be appended to the event payload as a key-value pair.
Note: You can set a max of 10 pairs and each "key" must be unique.

Once you’ve successfully created a geofence, you’ll see it listed in the Active Geofences section.

Create Geofences via CSV upload
In addition to creating geofences via the UI, you can also upload geofences using a CSV file.

Note: The maximum number of geofences per upload is 5000 and each geofence must have a unique name.
Instructions:
-
Download the csv template here.
-
Add your geofences following the format specified in the template. For e.g if you’re creating a venue geofence, ensure the
venueidcolumn is populated with a valid Foursquarevenueid, similarly for a chain geofence achainid, category geofence acategoryidetc. -
Drag and drop or click to upload your csv file, specifying whether or not you want to append (add to) or replace (delete) existing geofences.
Updated 7 months ago